
Checking Your Blood Sugar
If you have diabetes, checking your blood sugar may be a part of your daily routine to help you make decisions and take care of your health.
Whether you're new to the task or you're looking for ways to make it easier, we've got some tips for using your glucose meter, and getting the information you need, no matter your level of vision.
Choosing which blood sugar testing equipment to use starts with your healthcare team. They'll help you pick what type of meter is right for you, and they'll show you how it works.
Once you're familiar with your device, here are a few techniques that can help you make the process work well for you.
First, it's always helpful to get organized. Start by keeping your glucose meter and your testing supplies together, in a place that's easy to get to. Storing them on a tray or even a cookie sheet with edges is a great way to make sure things are easier to find.
And when it's time to test, you can use the tray to lay out your test equipment so nothing rolls away. It's a good idea to set up your test supplies in the same way each time you test.
Then you can reach for your test strips and lancing device more easily, and you'll know which way your monitor is facing. If you have low vision, good lighting is important too.
Using an adjustable lamp helps you put the light where you need it, while you're getting ready, while you're testing, and when you're reading your results.
A magnifier can also come in handy, and Hadley's workshops on magnifiers can help you decide what type works best for you.
Now, let's look at some helpful techniques for using your meter, and let's start with the test strips.
Most test strips have a shape or a texture you can feel at one end, so you know which end to hold and which end to insert in the meter.
And some test strips are touchable, which means it's okay to touch the test area, and that won't affect the results.
In addition, it might be easier to use special test strips that automatically pull the right amount of blood into the strip.
These type of test strips work best, but if your test meter uses strips that don't have these features, you might want to talk with your care team about getting a meter that uses strips that work better for you. You can also talk with your care team about a talking meter which reads your test results out loud.
- [Talking Meter] Your glucose reading is 129 milligrams per deciliter.
- [Instructor] Check out the resources for more information on talking meters. And if the meter you need isn't already covered by your insurance, you should feel free to ask your doctor to submit a letter or a medical necessity form to your insurance company.
A certified diabetes educator or another member of your care team can often help by requesting a specific meter with the features you need. Whatever meter you choose, here's a trick you can use to make it easier to insert the test strip.
Add a bump dot or a piece of colored tape to mark the slot where the test strip goes. Then you can find it more easily by touch or by looking for the area with contrast.
Now, let's move on to the test itself, and let's look at using your sense of touch to keep track of where you've pricked your finger. That way you'll know exactly where to guide the test strip. With this technique, you'll be using one hand for both your lancet device and your meter, so be sure to put the test strip in place and get the lancet ready to go ahead of time.
And here's a quick note about lancets. If your lancing device is hard to work with, ask your care team about using one-time safety lancets. These can be easier to use with one hand.
Once your meter and lancet are both ready, place the back of your hand on a countertop or table to help keep it steady, then put your thumb on the finger you're going to test with your thumbnail gently pressing about a quarter of an inch below the spot you're going to prick.
Pick up your lancet in the other hand and guide it to your testing finger by sliding the end of the lancet down the thumbnail that's pressing on your finger until it's in the right position.
Use the lancet to stick your finger, and keep your thumbnail pressing in the same spot as you put down the lancet and pick up your meter. With the test strip inserted in your monitor, hold the monitor like a pencil with the strip facing down.
Next, touch the end of the test strip to your thumbnail and slide it down until it touches the spot where you pricked your finger. Then hold it in place for a few seconds and watch or listen for the test to complete. If the test strip isn't in the right place and you don't hear the beep or a result doesn't show on the screen, lift the test strip a little bit, move it slightly, and place it back down again.
Be sure not to slide the strip across your finger because that might smear the drop of blood and the test strip might not be able to collect enough. With practice, you'll get better at guiding the test strip to the right place, and it'll take fewer tries to get an accurate result.
And here's one more tip for helping you check your blood sugar. Your care team can help you decide whether a device that constantly reads your glucose levels called a continuous glucose monitor is a good match for you.
Talk with your team about whether this device will reduce the number of times you'll need to prick your finger and how to find a model with the right features for you to read or hear the results.
Check out the resources for some links to more information about these devices.
As always, if you need more information or you've got your own tips to share contact a Hadley learning expert.
Of course, as with anything new give yourself time, patience, and practice and you'll get there.
-
Handouts
Preparing to Get an Adequate Blood Sample for Testing
Here are some tips on getting a large-enough sample for your glucose meter.
-
Websites
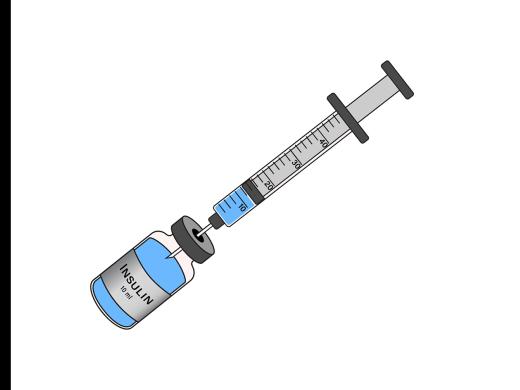
This article evaluates several types of talking glucose monitors, highlights their features, and provides resources for where to get them.
Learn how continuous glucose monitoring works.
Explore
-
A Guide to Vision Rehab
Audio · 28 minutes
-
I'm having trouble reading
Resource guide
-
The Crochet Life: Tips for Crocheting After Vision Loss
Article · 2 minutes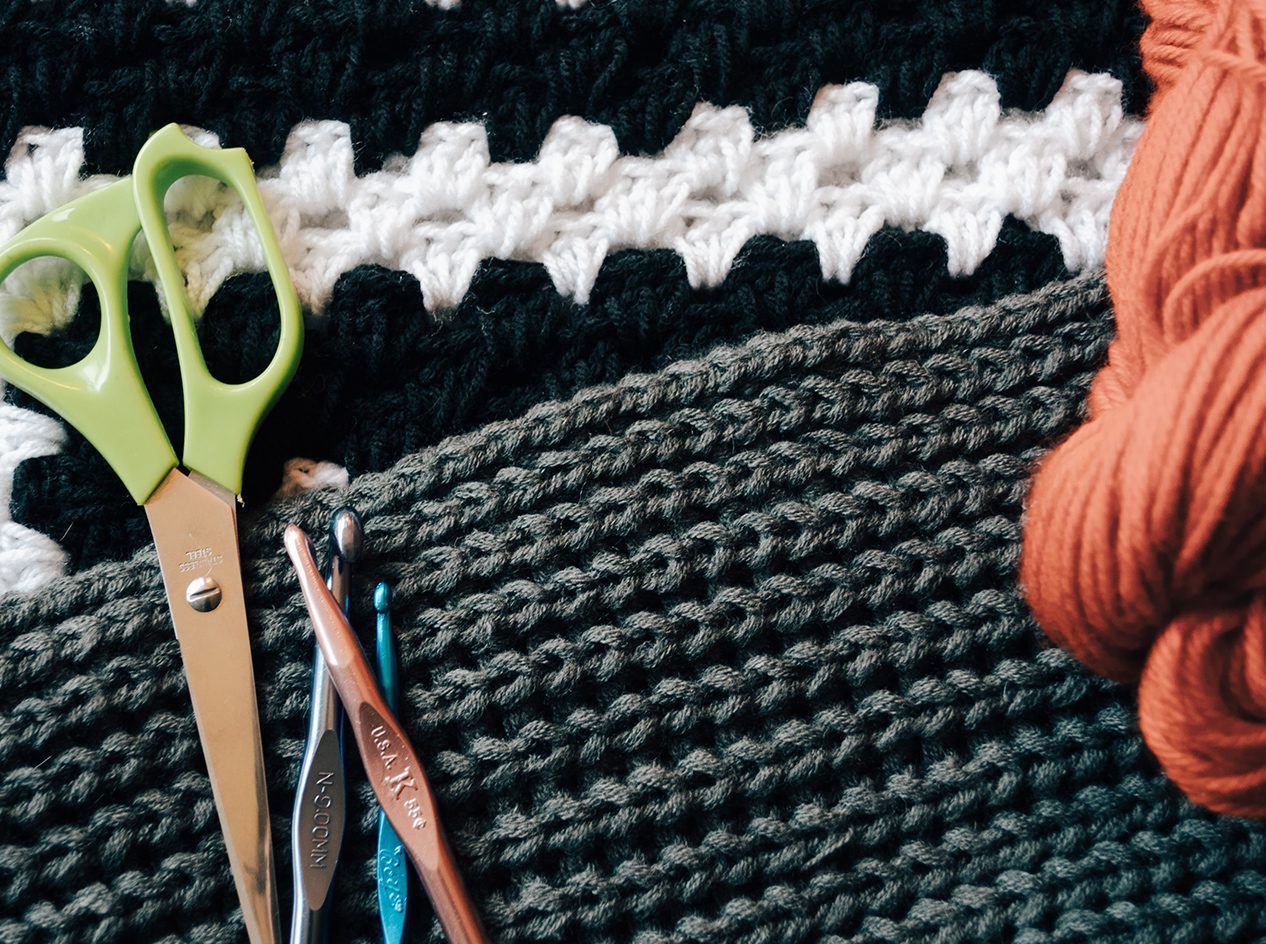
-
Recreation Chat
Discussion
- Explore more
Members also liked
- Video · 3 minutes

- Video · 4 minutes
- Video · 3 minutes
- Video · 4 minutes

Join the Hadley Community
Hadley's resources are always available to you. Create a no-cost Hadley account to go further:
-
Pick up where you left off Everything you start is automatically saved across Hadley.
-
Personalized recommendations We'll suggest resources based on your interests.
-
Join live discussions Live and lively discussions on technology, cooking, and more, all geared toward the community of people living with vision loss.
-
Find peer support Connect with people who understand what you're going through.