
Everyday Tasks
[Ricky] Hi, I am Ricky Enger, and today we're gonna show how NVDA works for everyday tasks on our computer. We'll be using a lot of concepts we learned in previous workshops in this series, so it's a good idea to check those out first to be ready for what we're doing today.
Alright, we've got NVDA sounding the way we want, and we know some pretty cool shortcuts now. So our next step is to just jump in and begin using our computer. Let's start by opening an app. We have lots of ways to do that, but for now, we'll use our Start menu. So, let's press the Windows key on our keyboard.
[Automated Voice] Start Windows. Search Windows. Search box edit blank.
[Ricky] Okay, NVDA told us a few things and it can take a little getting used to when it comes to figuring out what all this means. Let's pay close attention to that last thing NVDA said. Search box, edit, blank. What this means is that we're in a place where we can type in something to search for.
Now, when we start typing, what will happen is that Windows will find any apps containing the letters we type. There may be more than one app, so Windows will pop up a list of suggestions. Okay, let's start typing, and the word we're gonna type is Word.
Yeah, we're looking for our Microsoft Word app. Or if you don't have Microsoft Office installed, WordPad will come up instead. So, here we go. We'll type W.
[Automated Voice] Word app. Press right to switch Preview, one of one, level one.
[Ricky] So again, we get lots of info, but the important bit is that we're focused on an app and that app is called Word. Nice. Now, if we were looking for a different app, we could use our down arrow key to move through any other suggestions that might have popped up. But, since we're right where we wanna be, let's press Enter here to open up Microsoft Word.
[Automated Voice] Pane Word, Home grouping, New grouping list, blank document alt, F, H, Y two one of seven.
[Ricky] Well, that's a lot to take in. The important bit is that we're focused on the option to create a new blank document. So we'll just press Enter here to do that.
[Automated Voice] Microsoft Word document, edit multi-line page one, section one blank.
[Ricky] Cool. Here we are in our brand new blank document. If we wanna be absolutely sure of that, we can use our NVDA shortcut key to speak the title of our window. So yeah, let's press our NVDA key and T, T for title.
[Automated Voice] Document1 Word.
[Ricky] We're definitely in our Word document, and because our document is blank and we haven't given it a file name yet, our title is just Document1. Now let's go ahead and type a few words.
[Automated Voice] I like typing.
[Ricky] So notice how on this computer, NVDA is not speaking each typed character, but it does speak each word. Yeah, that's exactly what it's set up to do here. And of course, if you've got NVDA set up to speak each character instead, that's what you'll hear. Let's try our NVDA shortcut to read the current line. So we'll press our NVDA key, which is our Insert or Caps Lock key, and our up arrow.
[Automated Voice] I like typing.
[Ricky] Yep, that's our current line. Now let's press that twice quickly. So we'll hold down our NVDA key, and then just tap-tap on our up arrow key.
[Automated Voice] I L-I-K-E T-Y-P-I-N-G dot.
[Automated Voice] Interesting. We've spelled everything on our current line, but without any indication of spaces. This keystroke is nice for just quickly verifying what's on our current line. And if we do wanna move letter by letter or word by word, we can do that with shortcut keys built right into Windows. Since we're at the end of our line, let's move backward. We'll use our left arrow key to do that. Here we go.
[Automated Voice] Space dot G-N-I-P-Y-T.
[Ricky] Great. We're moving backward through our last word character by character. Now let's keep going backward, only this time, we'll hold down our Control key and then we'll press left arrow. So Control + left arrow.
[Automated Voice] Like.
[Ricky] Cool, we're now moving backward by word instead of by character. That's just a little taste of how NVDA works in Microsoft Word. There is so much more we can do in Word, and as luck would have it, Hadley has a great series that covers using Microsoft Word with NVDA. Be sure and check that out to learn about opening and saving documents, spell-checking, changing fonts and formats, and lots of other cool stuff.
Now it just so happens that in addition to our Word app, the Google Chrome browser is open on this computer. Remember, we can always open an app by bringing up our start menu and searching for it, but since the browser is already open here, let's go ahead and switch to it. We'll use the keystroke we learned for switching between apps, which is our Alt key and Tab. So let's do it. We'll press and hold Alt and tap and then release our Tab key.
[Automated Voice] New tab Google Chrome row one, column two.
[Ricky] Yeah, we're focused on our browser, so now we'll let go of our Alt key to switch to the window, and here we are. What we're gonna do today will be a quick little tour just to give us a chance to use a few of our NVDA keystrokes. There's actually a whole series dedicated to using Google Chrome with NVDA, so that's where you can head next if you're wondering how to really get the most out of NVDA on the web. Okay, so let's go ahead and open a webpage. We'll type in hadleyhelps.org, and we'll press Enter.
[Automated Voice] Org. Hadleyhelps.org selected, Hadley vision resources, 100 years of empowering adults with vision loss, link skip to main con.
[Ricky] And we'll use our Control key to stop. That key really is one of the best keys, because sometimes we just need to stop the chatter. Alright, so there's a lot of stuff on this page, and we're starting here at the top. So we're gonna hear lots of links and other options that will take us to different parts of the site. Let's go ahead and use our keystroke for reading everything on the page. As we learned before, that keystroke is our NVDA key and the down arrow key. So here we go. NVDA plus down arrow.
[Automated Voice] Link skip to main content, banner landmark visited link graphic Hadley logo. Go back to homepage, main navigation landmark list with three items link home, link About Us, link Learn out of list, link Donate.
[Ricky] Okay, it's definitely time for that Control key. Now, if all that sounds like a bunch of gobbledygook, no worries. We talk a lot about landmarks, links, headings, how to just skip to the parts of a page we care about in our series for getting online with a screen reader. That's where we take a deep dive into how to use NVDA with Google Chrome. For now though, the important thing is that we've made it to our Chrome browser and we know our keystroke for reading everything on a page. We've really had a great time, right? And speaking of time, what time is it anyway? Let's check. Again, our keystroke for that is our NVDA key and F12. So we'll press that.
[Automated Voice] 2:10 PM.
[Ricky] Yeah, there we go. And remember that if we do that same keystroke, only we tap F12 twice, we'll get our date. Wow, it's really cool that with just a few keystrokes, we can get so much information about what's happening on our computer. We'll be able to take these same keystrokes and use them everywhere as we create documents, browse the web, access our email, download books, yeah, the list is pretty much endless. And the great thing is that Hadley actually has workshops covering these things in detail.
Be sure and check out the Technology section of the website to find lots of options for what to learn next. I'm Ricky Enger, and I'm glad you could spend a little time with me learning about NVDA for everyday tasks. See you next time.
-
Handouts
Everyday Tasks Quick-Start Guide (PDF)
This quick-start guide shows you how to use NVDA for everday computer tasks.
NVDA Screen Reader Series
- Video · 12 minutes
- Video · 10 minutes
- Video · 9 minutes

Explore
-
Listen to Text with Envision App or Glasses
Audio · 25 minutes
-
I was just diagnosed
Resource guide
-
5 Free Apps to Help After Vision Loss
Article · 5 minutes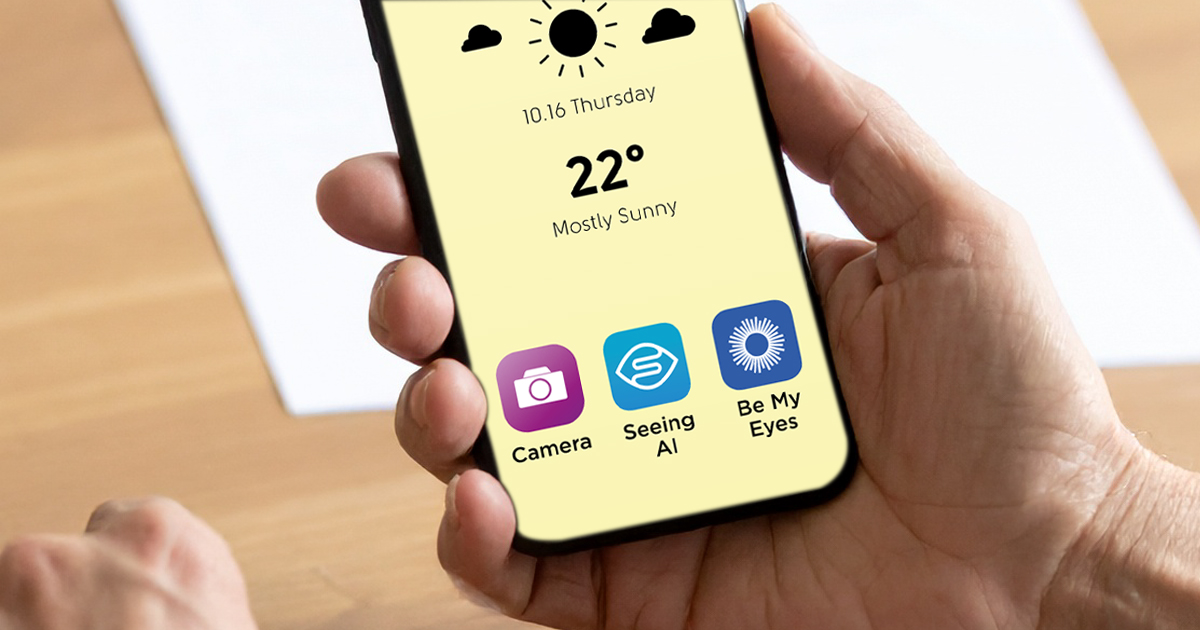
-
Embracing Braille
Discussion
- Explore more
Members also liked
- Video · 5 minutes

- Video · 8 minutes

- Video · 9 minutes

- Video · 5 minutes
Join the Hadley Community
Hadley's resources are always available to you. Create a no-cost Hadley account to go further:
-
Pick up where you left off Everything you start is automatically saved across Hadley.
-
Personalized recommendations We'll suggest resources based on your interests.
-
Join live discussions Live and lively discussions on technology, cooking, and more, all geared toward the community of people living with vision loss.
-
Find peer support Connect with people who understand what you're going through.