
Apple TV: VoiceOver Basics
Hello, my name is Douglas Walker. Today we will learn how to navigate our Apple TV by using our VoiceOver gestures. Now, if we're not yet familiar with VoiceOver, VoiceOver is Apple's screen reading software. And a screen reader gives a person with a visual impairment the ability to totally use their Apple TV, and it does this by speaking the items, or information that is on our screen. And I tell you, that is pretty fantastic. Now, by learning just a few basic VoiceOver gestures, we'll soon be moving through our Apple TV with ease.
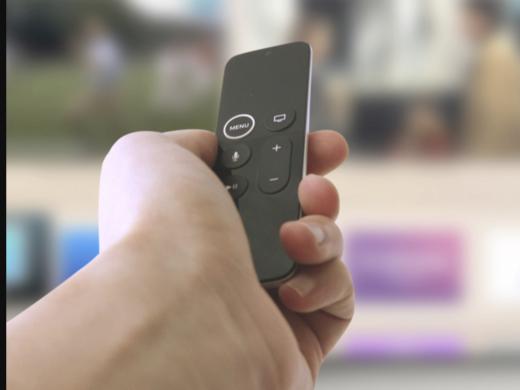
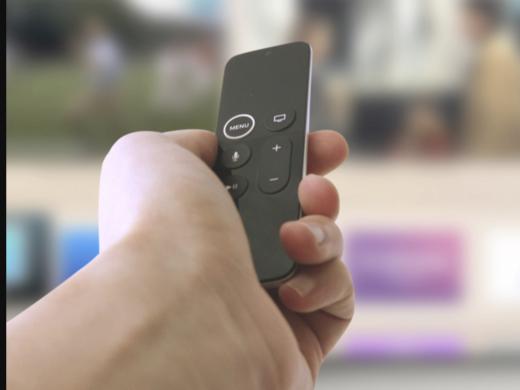
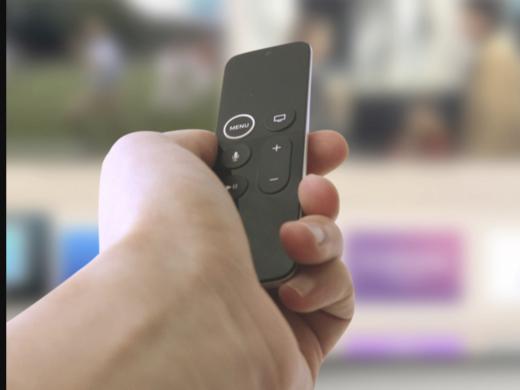
Okay, let's begin by first talking a little about the orientation of our screen. Now, our Apple TV is oriented a lot like our iPhone or our iPad. Our apps are setup in a series of rows and columns. Now our first gesture is our flick gesture. And we will flick or lightly brush our finger across our Siri Remote touch surface. Now if we're not yet familiar with our Siri Remote, we're really going to want to check out our Apple TV Siri Remote video. It does a pretty good job of getting us completely familiar with all the buttons and functions of our Siri Remote.
Okay, we're currently in our first row in our first column. And our focus is on our TV app. So let's do it. We will just right flick or lightly brush our finger from left to right across our touch surface. And we'll go ahead and just flick here.
Speaker 2: App Store, row one, column two.
Douglas Walker: Great, we've moved to the next item in our row. And we've been placed on our App Store app which is really great. Okay, how about we just right flick a couple more times until we reach the very end of our row here. So we'll just right flick here and we'll right flick.
Speaker 2: Movies, row one, column three.
Douglas Walker: Here's our Movies app. Right flick again.
Speaker 2: TV Shows, row one, column four.
Douglas Walker: And here's our TV Shows app. We'll right flick one more time here.
Speaker 2: Music, row one, column five.
Douglas Walker: And here's our Music app. We'll right flick one more time. Okay, and we've, of course, have reached the end of our first row here. And like we said, we're on our Music app. Now navigating our Apple TV is just a bit different than navigating our iPhone or iPad because with our iPhone, if we were to right flick again, we would be placed on the first item in our second row.
However, to move to the second row on our Apple TV, we'll need to just flick down on our touch surface. So we'll do just that. We'll just flick down one time here.
Speaker 2: Search, row two, column five.
Douglas Walker: Okay, we've moved down to our second row and we've been placed here on our search app. Which, of course, is the last item in our second row here. And we can already see that this is quite a bit different from how we would navigate through our iPhone or our iPad.
Okay, you probably already guess that if we want to move to the left or, in this case, back through our second row here, we would simply just perform our left flick. So let's do it. We'll just left flick here and we'll left flick all the way back to the beginning of our second row here. So we'll just left flick.
Speaker 2: Podcast, row two, column four.
Douglas Walker: Great, and there's a podcast app. So we'll left flick again.
Speaker 2: Photos, row two, column three.
Douglas Walker: And there's all our great photos. Left flick.
Speaker 2: YouTube TV, row two, column two.
Douglas Walker: So YouTube TV app. Let's flick one more time here.
Speaker 2: Settings, row two, column one.
Douglas Walker: Great. And here we are on our first column, our first item here in our second row. And if we wanted to move back up to our first item in our first row, which, of course, is our TV app here. We would simply just flick back up our touch surface. But we don't want to do that because we're briefly going to discuss how we will open or close an app.
Now we're currently, like we said, on our Settings app. And opening an app is super simple for us to do. We will just press down firmly on our touch surface until we hear or feel a little click there. So let's go ahead and do it. We will just press our touch surface here and we'll press.
Speaker 2: Video and Audio button three of nine.
Douglas Walker: Yeah, our setting have all opened for us and now we can just flick up and down to move through all of our settings here which is really great for us. And this is actually how we will open or launch any of our other apps here. Now, closing an app is just as simple. We'll just press our Menu button, which is a round button with a raised edge just below our touch surface here. So we'll just go ahead and press our Menu button and we'll press it.
Speaker 2: Settings, row two, column one.
Douglas Walker: All right. And our Settings apps has, of course, closed and we have been placed right back on our home screen. And hey, it's as easy as that. Okay, the last gesture that we're going to explore today is our rotor gesture. The rotor is probably my favorite gesture because it makes it so much faster to be able to move between different elements. And as long as we have VoiceOver running, our rotor is always running in the background and we have access to it. That is, as long as we know how to use our rotor gesture. Now, the types of elements that we're going to find in our rotor are going to change. And it all depends on which application that we happen to be using at the time.
All right, so how do we access our rotor? Well, we have our rotor gesture. And, to me, it really is Apples' most innovative gesture. Now Apple like to compare it to turning a knob. However, we really don't encounter that many knobs anymore. We tend to encounter a lot more button and switches these days. Anyway, it really helps to think of a rotor gestures like maybe the same gesture we would use when we open a bottle or a soft drink cap. Now we'll need to place two of our fingers on our screen and it doesn't matter which two fingers we use. However, most people seem to prefer to use their thumb and their index fingers.
To activate our rotor, we'll just place our two fingers on our touch surface and then we'll just rotate them clockwise to move forward through all of our rotor elements. And we'll rotate our two fingers counterclockwise if we want to move backwards through all of our elements. So how about we check out exactly how all this works? We'll just place our two fingers on our touch surface and we'll just start rotating our fingers here.
Speaker 2: Landmarks, Direct Touch, Speaking Rate.
Douglas Walker: All right, and that's moving forward. We could move backwards if we want. We can back like this.
Speaker 2: Direct Touch, Landmarks.
Douglas Walker: Let's move back to our speaking right here.
Speaker 2: Direct touch. Speaking rate.
Douglas Walker: Now at some point, we will need to lift our fingers from our touch surface and rotate our wrist back in order to continue moving through our elements. Now, visually we kind of see a knob icon appear on our screen. And our knob is going to appear to turn as we move through all of our elements. Of course the name of our element will be listed there above our knob. Now if we happen to pass, as we saw, the element that we're looking for, we could just rotate our wrist, like we did, in the opposite direction to move back to it. And once we find the element that we want, we can then just flick up or down our screen with one finger to move forwards or backwards by the element that we have selected.
And since we're on our speaking rate element, we can just flick up our screen in increase our speaking rate. And, you know, how about we do just that? We'll just flick up a few times. So we'll just flick up.
Speaker 2: 55%.
Douglas Walker: And we're turning it up here, speeding it up.
Speaker 2: 60%.
Douglas Walker: Flicking up again.
Speaker 2: 65%.
Douglas Walker: And even faster.
Speaker 2: 70%.
Douglas Walker: And we could just slow down our speech by flick back down our touch surface here. So let's do that. We'll just flick back down our touch surface here. And we'll flick down.
Speaker 2: 65%, 60%, 55%, 50%.
Douglas Walker: Okay, and it's good to know that 50% is our default speech rate. All right, I think we're going to have to call it a day for today's video. But it really is great to know that with just a few simple VoiceOver gestures, we can quickly begin navigating to get the most our of our Apple TV.
Again, my name is Douglas Walker. Take care and I'll see you next time.
-
Handouts
VoiceOver Basics Quick-Start Guide (PDF)
This quick-start guide helps you use VoiceOver gestures to navigate your Apple TV.
Apple TV Series
- Video · 5 minutes
- Video · 9 minutes

- Video · 12 minutes
- Video · 9 minutes
Explore
-
Accessible Pharmacy
Audio · 20 minutes
-
It’s hard to ask for help. Now What?
Resource guide
-
Getting Started with BARD: A Friendly Guide for Readers with Vision Loss
Article · 4 minutes
-
Recreation Chat
Discussion
- Explore more
Members also liked
- Video · 3 minutes
- Video · 12 minutes
- Video · 10 minutes
- Video · 8 minutes

Join the Hadley Community
Hadley's resources are always available to you. Create a no-cost Hadley account to go further:
-
Pick up where you left off Everything you start is automatically saved across Hadley.
-
Personalized recommendations We'll suggest resources based on your interests.
-
Join live discussions Live and lively discussions on technology, cooking, and more, all geared toward the community of people living with vision loss.
-
Find peer support Connect with people who understand what you're going through.