
Everyday Braille Writing: A-C
Hadley
Everyday Braille Writing
Workshop 1: Letters a-c
Hadley presents, Everyday Braille Writing, Workshop 1: Letters a-c.
Workbook Page 1: Getting Started
Before you get started here, check out Hadley’s “Producing Braille” series.
There you can learn to use the slate and stylus or the Perkins Brailler before trying this writing workshop.
You’ve already learned to read the letters. Now, we’ll learn to write them.
Let’s get started making letters!
Begin by putting paper in your writing device.
You can use whichever writing device you have available to you, including the slate and stylus or the Perkins Brailler.
If you have one, you can also use an electronic Braille note taker. Then you wouldn’t need any paper.
Also, make sure you have your Braille workbook with you.
If you don’t already have one, call Hadley at
847-784-2816 and we’ll mail one right out to you.
Just as in Braille for Everyday Use, you can use some handy keyboard shortcuts.
The Spacebar, to pause and play, and the Right and Left Arrows to go to the next or previous page.
If you use a screen reader, you can find the Pause, Next, and Back buttons by moving through the screen as you would any web page.
If you’re ready to start writing, select Next.
Workbook Page 1: Brailling a
Let’s begin with letter “a,” the easiest letter to write.
Letter a is dot 1, the top dot on the first side.
Let’s practice writing a row of a’s. Try leaving an empty cell or space after each letter.
When you are ready to check your braille, select Next.
Workbook Page 1: Checking a
To check your work, turn to Page 1 in the workbook.
Feel the letter a in the top left corner of the page.
Find the line in the middle of the page.
If you are using a slate and want to check your braille, open the slate, and flip the paper over to feel your writing.
If you are using a braille writer and want to check your braille, press the line advance key one or two times so you can feel your writing more easily.
Then, roll your paper back in to begin writing again.
Above the middle line, you’ll find three rows of braille.
Find the first row.
Feel the a’s in this first row.
Now, feel the row of a’s you wrote.
Do your a’s feel the same?
Your a’s should be on the first side of the cell.
After you’ve checked your braille, select Next to continue.
Workbook Page 1: Brailling b
Now let’s write our next letter.
Move down to the next line on your writing device to write “b.”
In the first cell, make the letter b, dots 1-2.
It is the top and middle dots on the first side.
Try writing a row of b’s. Leave a space after each b.
When you’re ready to check your braille, select Next.
Workbook Page 1: Checking b
Now, go back to Page 1 in your workbook to check your work with the b’s, which are in the second row.
After you’ve checked your braille, select Next to continue.
Workbook Page 1: Brailling c
Move to the next line on your writing device to write “c.”
In the first cell, make a letter c, dots 1-4.
Use the top dot on the first side and the top dot on the second side.
Try writing a row of c’s.
If you haven’t yet, try leaving a space after each letter when you write the c’s.
Select Next to continue.
Workbook Page 1: Checking c
Now you can check your c’s with the third row on Page 1 in the workbook.
Do they feel correct?
When you’re ready to keep going, select Next.
Workbook Page 1: Brailling a-b-c
Now, let’s try writing all three letters.
Move to the next line on your writing device.
To give yourself time to braille, select Pause to write. Then, select Play to get the next letter.
In the first cell, make the letter a.
Now, leave a space and make the letter b.
Leave another space and make the letter c, and do this a couple of times.
When you’re done, select Next to check your work.
Workbook Page 1: Checking a-b-c
Now, in your workbook, find the middle line on Page 1 again.
Below the middle line are four more rows of braille.
Place your fingers on the letter a at the beginning of the first row.
Check your writing of a, b, and c with this first row below the middle line.
You have completed four lines of braille.
If you’re using a slate and stylus, it’s time to move your slate down as shown in Hadley’s Slate and Stylus workshop. And if you have questions or you’d like some help, reach out to a braille expert at Hadley.
When you’re ready, select Next.
Workbook Page 1: Brailling ab
On the next line in your writing device, we’ll start making words.
Just like in print, when writing words, you won’t space between the letters of the word, but you will space between words.
Or if it’s easier, you can start each word on a new line.
Make “ab,” a-b.
This time, you’ll braille a few more words before checking your work, so select Next when you’re ready for the next word to braille.
Workbook Page 1: Brailling a-c
Now, leave a space and make “ac.”
When you’re ready for the last word, select Next.
Workbook Page 1: Brailling cab
Make “cab,” c-a-b.
When you’re ready to check ab, ac, and cab select Next.
Workbook Page 1: Checking ab, a-c, cab
You wrote your first words.
Still on Page 1 of the workbook, you can check your words with the second, third, and fourth rows below the middle line.
Select Next to continue.
Helpful Tip
Were you able to write all three letters from this workshop?
You can stop here and try as many times as you’d like.
If you do and you’re using a slate, be sure to open the slate and move the paper down. And if you’d like some help, be sure to reach out to a braille expert—they can give you some tips.
When you’re ready to complete this workshop, select Next to continue.
Congratulations
Congratulations! You’ve completed Everyday Braille Writing, Letters a-c.
Everyday Braille Writing: Letters Series
- Workshop
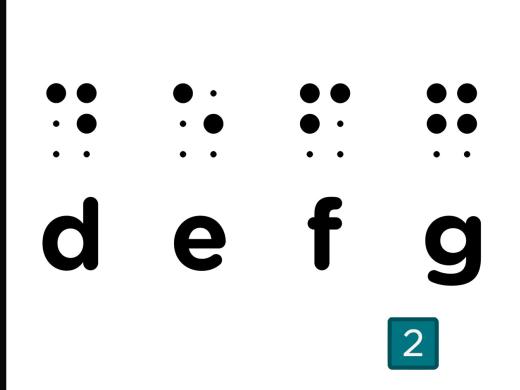
- Workshop
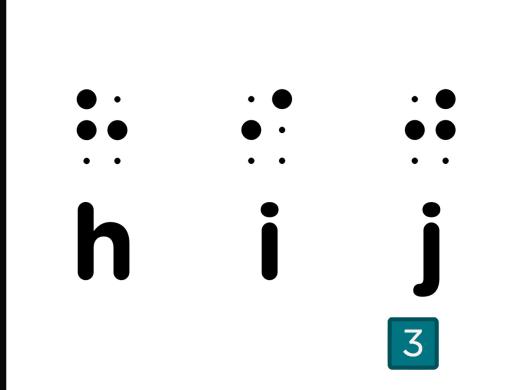
- Workshop

- Workshop
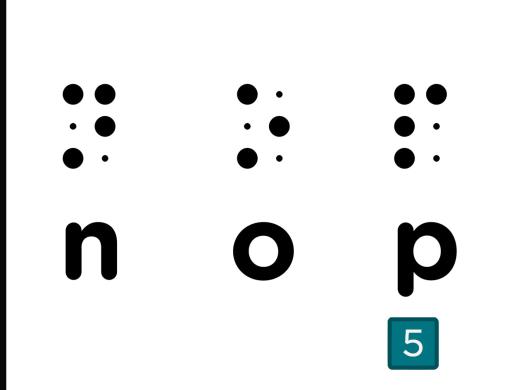
Explore
-
The Blind Poet, Dave Steele
Audio · 20 minutes
-
I'm feeling overwhelmed
Resource guide
-
Organizing Your Kitchen with Vision Loss: Finding Things in the Fridge
Article · 4 minutes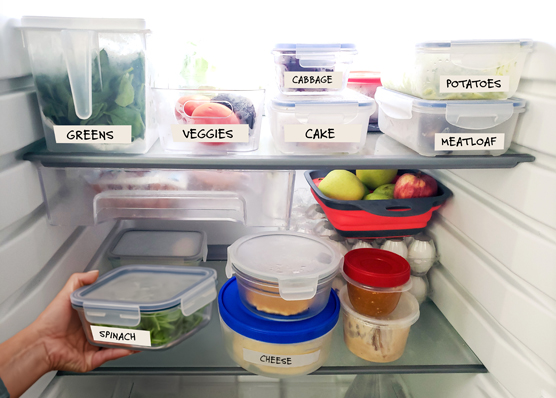
-
Embracing Braille
Discussion
- Explore more
Members also liked
Join the Hadley Community
Hadley's resources are always available to you. Create a no-cost Hadley account to go further:
-
Pick up where you left off Everything you start is automatically saved across Hadley.
-
Personalized recommendations We'll suggest resources based on your interests.
-
Join live discussions Live and lively discussions on technology, cooking, and more, all geared toward the community of people living with vision loss.
-
Find peer support Connect with people who understand what you're going through.