
Google Docs Low Vision: Low Vision Features
Hi, my name is Vikki Vaughan, and in today’s workshop, we’ll explore the low vision features in Google Docs that make our documents easier to see.
Let’s begin with an open Google Docs. If you’re a Microsoft Word user, the menu and toolbars will look familiar. Just like with Word, we can use keyboard shortcuts to open our menus. Let’s try that now. We’ll open our Tools menu with Alt+T, for tools, which makes sense, doesn’t it! We have several ways to move down our menu; we can use our down arrow, a keyboard shortcut, or our mouse pointer to select the option we want. We see an option at the bottom of the list: Accessibility Settings. Let’s try it out and move to the bottom of the list with our down arrow key. And press Enter.
A new window opens with checkboxes to turn on screen reader and magnification support. If you’re using a screen reader, it’s essential that you check the first three boxes. For more specific details on using Google Docs with our screen reading program, we select the Learn More link at the bottom of our window. Be sure to check out Hadley’s Google Docs for Screen Readers series for a deeper dive into this topic!
For those of us who use magnification programs, selecting this last checkbox helps boost the usability of our program. Once we’ve made our selection, we press the Enter key to confirm and close this window.
Our next low vision tool can be found in the Help Menu. Let’s open it with Alt+H, for Help, and move to the bottom of the list with our down arrow key. Here, we find our Keyboard Shortcuts option. Once again, we have a tip for using a keyboard shortcut to open this option: Control+Forward Slash. Let’s use our mouse pointer to check out this option.
A new window opens, and we find a listing of keyboard shortcuts by category, such as text formatting, editing, and navigation. When we select an option in the left pane, the focus shifts to the related shortcuts in the right pane. Let’s check out the Editing shortcuts. Here we see some old friends, such as Control+F for find and Control+K for inserting a link. It’s nice to know this list is always available for those times when we need a little reminder!
For a complete list of the keyboard shortcuts available in Google Docs, let’s select the View All in Help Center link at the bottom of our window. A new tab opens in our browser and here we find a list of shortcuts for Computer, Android, and iPhone and iPad devices. By moving down the window, we see the shortcuts are also categorized into PC, Mac, and Chrome operating systems.
Let’s move back to our document with the keyboard shortcut, Control+Tab. Now you may have noticed one other option of interest in our menu bar: Accessibility. When selected, this option provides a listing of keyboard shortcuts for speech output when a screen reading program is used. Let's press the Escape key to close this option.
Now, we move our focus to our Toolbar, where we find several low vision tools. First on our list, the Zoom tool. By selecting this tool, we open a list of zoom options from 50 to 200%. Let’s try it out! I’ll use my down arrow key to move to 200% and press Enter. Wow, what a difference, right! This is a super easy way to enlarge our screen on the spot.
In addition to zooming into our viewing area, we can also use the Font tool to increase the size of our letters. Let’s select all of the words in this document with the keyboard shortcut Control+A, for all, and then click on the plus sign to bump up our point size. It’s no surprise that there’s also a handy shortcut, Control+Shift+Period, that makes the letters bigger. If they’re a little too big, we can decrease the letter size with Control+Shift+Comma or by choosing the minus sign on our toolbar.
Let’s return to our Menu bar for a look at one last low vision option. Under Tools, we’ll move down to Voice Typing. This feature allows us to dictate into our Google Document. We can select this option from our list or use the keyboard shortcut of Control+Shift+S, for Speak, to turn on and off Voice Typing.
Let’s give it a try! We see our Voice Typing tool appear in the left pane of our document.
[Vikki dictates: “Presented March, 2021”, then presses Escape to stop dictation.]
We either press our Escape key or say “Stop listening” to stop dictation. The color of the microphone gives us a hint when it’s ready for dictation. When it’s grey, it's paused, and when it’s orange it’s active.
For more information about Voice Typing commands, we use our mouse pointer to hover over the question mark button inside the microphone window. By selecting this tool, we open the Voice Typing Help window. There we can search for commands and tips. Pretty cool, isn’t it! We close our Help window by selecting the X in the top right corner.
In today’s workshop, we learned about the low vision features in Google Docs. I’m Vikki Vaughan, and I thank you for joining me.
-
Handouts
Google Docs Accessibility Features (PDF)
Low Vision Features Quick-Start Guide (PDF)
This quick-start guide introduces you to the many features you can use in Google Docs to make your documents easier to see.
Google Docs: Low Vision Series
- Video · 9 minutes
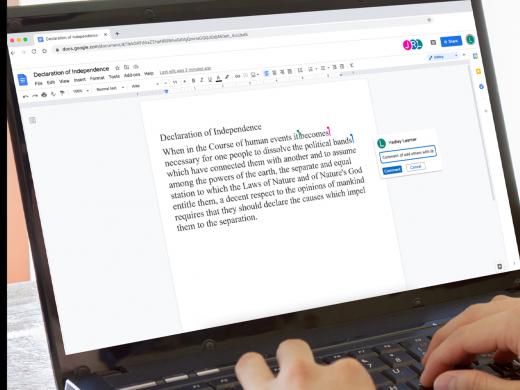
- Video · 7 minutes
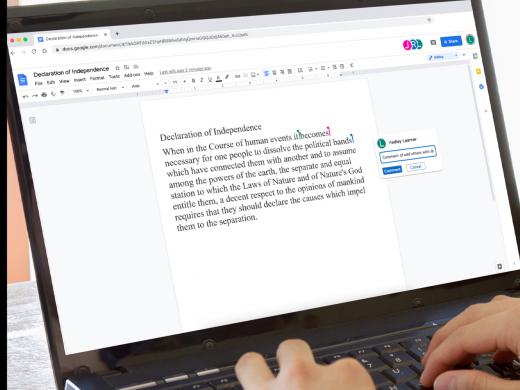
- Video · 6 minutes
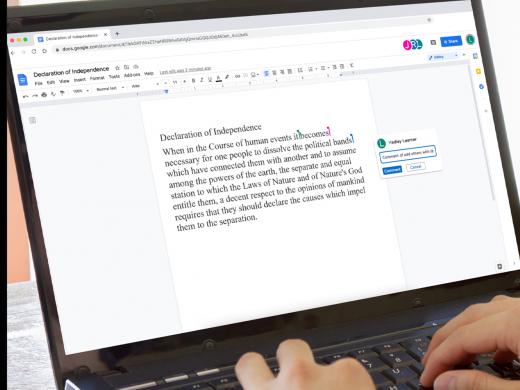
- Video · 6 minutes
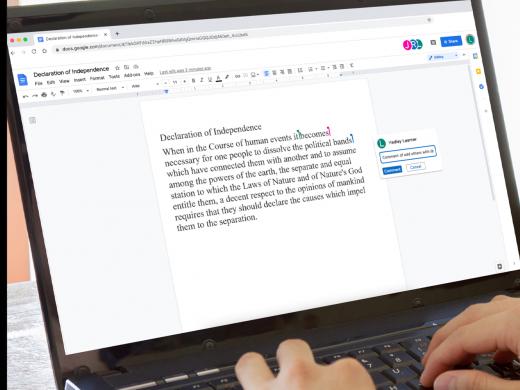
Explore
-
Smartphones and Vision Loss: Tools You Should Know About
Audio · 29 minutes
-
I was just diagnosed
Resource guide
-
After the Eye Doctor: Practical Help for Vision Loss
Article · 6 minutes
-
Resource Roundtable
Discussion
- Explore more
Members also liked
- Video · 3 minutes
- Video · 5 minutes
- Video · 5 minutes
- Video · 5 minutes

Join the Hadley Community
Hadley's resources are always available to you. Create a no-cost Hadley account to go further:
-
Pick up where you left off Everything you start is automatically saved across Hadley.
-
Personalized recommendations We'll suggest resources based on your interests.
-
Join live discussions Live and lively discussions on technology, cooking, and more, all geared toward the community of people living with vision loss.
-
Find peer support Connect with people who understand what you're going through.