
Finding Keys Faster
Hi, I’m Ricky Enger, and today we’ll check out a few tips for finding keys on your computer keyboard faster.
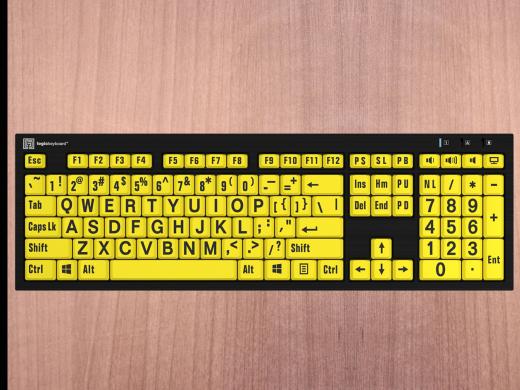
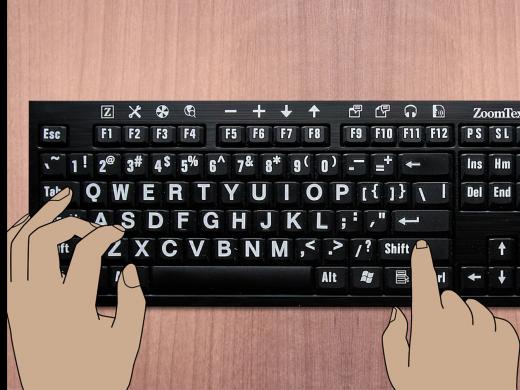
You know, it can be really time consuming and frustrating to hunt and peck your way around the keyboard. Some of the writing on the keys is super hard to see. And some of these keys—what do they even do, besides getting pushed accidentally? So let’s make your keyboard easier to use by identifying placeholders and personalizing it with labels you can feel.
So the third row up from the bottom of the keyboard is called the home row and begins with the letter A. Also, the F and J keys on the home row have a built-in raised spot, so you can tell quickly by feel that you’ve found them.
If there’s a number pad on your keyboard, that number 5 also has a small, raised spot you can feel.
These keys are placeholders for touch typists to use to find the home row, which is the starting place for their fingers.
They’re also great placeholders for all the keys nearby, so you may want to reinforce them with labels that make them even easier to feel.
Now, some keys on the keyboard can be really hard to find, either because they’re not used very often, or the printing is hard to see. Let’s focus on those keys that are commonly used in combination with other keys to make what are called keyboard shortcuts. We often call these modifier keys: keys like the Control, Alt, Insert, or Windows keys.
The location of these keys varies by keyboard. And you may find yourself using certain keyboard shortcuts all the time. So putting labels on them will customize your keyboard and make it easier to use.
By the way, to learn more about keyboard shortcuts and modifier keys, check out the workshop in this series called “Keyboard Shortcuts.”
So we’ve talked a lot about which keys you may want to label. Now let’s talk about what to use to label and personalize your keyboard. Low vision retailers have labels designed specifically for keyboarding and other labeling tasks. Some of these are called locator dots. And there are larger ones called bump dots. Be sure to check out our resources list for places to find these labels, and you can also check out the “Labels You Touch” workshop for more information on tactile labels.
If you want an option just using things you already have, small pieces of Velcro, tape, or anything that can be stuck to a key and felt with your fingers will also work.
But keep in mind that if the purpose of the labels is to make a few important keys stand out, too many labels or dots can be a little overwhelming. Less may actually be best!
And for some keys, it may be easier to just remember their location. For instance, the Alt keys are always on either side of the long spacebar. So if you find your space bar, you’ve found your Alt keys as well.
Another good example of finding keys based on location would be the arrow keys. These four keys are grouped together and positioned in the direction the arrow is pointing: up, down, right, or left.
As always, contact a learning expert if you have questions about anything in this workshop, or if you have your own tips to share.
I’m Ricky Enger, and I’m glad you could spend a little time with me for a few tips on making keys easier to find. See you next time.
Keyboarding Series
- Video · 3 minutes
- Video · 5 minutes
Explore
-
Artificial Intelligence (AI) and Vision Loss: Tools You Should Know
Audio · 37 minutes
-
I can’t drive anymore
Resource guide
-
Glaucoma: Questions & Answers
Article · 5 minutes
-
Tech It Out
Discussion
- Explore more
Members also liked
- Video · 5 minutes

- Video · 3 minutes
- Video · 3 minutes

- Video · 10 minutes
Join the Hadley Community
Hadley's resources are always available to you. Create a no-cost Hadley account to go further:
-
Pick up where you left off Everything you start is automatically saved across Hadley.
-
Personalized recommendations We'll suggest resources based on your interests.
-
Join live discussions Live and lively discussions on technology, cooking, and more, all geared toward the community of people living with vision loss.
-
Find peer support Connect with people who understand what you're going through.