
Outlook Low Vision: Calendar Basics
Hi, I'm Vikki Vaughan and today we'll explore the calendar in Microsoft Outlook. This workshop is intended for users for low vision. If you use a screen reading program, be sure to check out our screen reading version of this workshop. As we start off in this workshop, we’re assuming you’ve already gotten your computer setup for your low vision needs. If you haven’t already, you’re in luck! Hadley has a wonderful instructional series entitled, Customizing Windows for Low Vision. It explores all the cool built-in features that Windows offers for users with low vision. Be sure to check it out.
In this series we've discovered just how great Outlook is for sending email, but did you know that it also has an awesome calender function?
In today's hectic world many of us practically live by our calendars. Outlook is so versatile because with a simple click or keyboard shortcut we can instantly switch between our email and our calendar. Are we ready to learn more? Okay, let's get started.
When we initially open Outlook, we land in our familiar inbox. On the left side of our screen we see the navigation pane. At the bottom of the pane we see the navigation bar. Here we find multiple icons including an envelope and a calendar grid. They represent Outlook's applications. In this series we explore these first two icons, Outlook's email and calendar functions.
The calendar is today's focus so let's use our mouse pointer to select the grid icon to jump right in. We can also use a keyboard shortcut, control and the number two to switch to our calendar. When we open our calendar we find ourselves in the month view which is the default view. It provides us with a quick view of all of the events of the current month. If we'd like a more detailed view, we have other options.
Let's have a closer look. At the top of our window we see that we're currently in the home tab and in the ribbon below we find various tools arranged into categories. For now let's focus on the arrange category. Here we find several view choices such as day, workweek, week, month and schedule view.
Let's have a closer look at each of these choices. When we choose day view, our full calendar changes from the entire month to the current day. If we prefer to use keyboard shortcuts, control plus alt plus the number one will also place us in the day view. Let's use our keyboard shortcut to select day view. Now we can see appointment details for that particular day. While we're in the day view, let's have a look at how we can also view details of other dates on our calendar. In the pane to the left we have the date picker, a small month by month calendar. We see the current day highlighted in the navigation pane and the full calendar displays appointments for that day. We can select any day to view the details of that particular day.
Let's try that out. I'll select a date in the next month. We can see that we have an appointment at 10 a.m. on that day. When we select the left and right arrows at the top of the date picker calendar, we move back or forward a month at a time. Any time we're ready to return to today's date, we select the today icon in our ribbon. This takes us back to our current date.
Let's check out some of the other views. Next to the day view we have the workweek view. Just like with the day view, we can select it with our mouse pointer or use a keyboard shortcut of control plus alt plus the number two. With this view we see the current workweek of Monday through Friday. If we wish to look at a particular workweek in the past or in the future, we can use our date picker to select whichever week we'd like to examine more closely. Let's pick a week next month as an example. Now we see that week in the full calendar.
Now let's jump back to today and have a look at our other options. To the right of the workweek icon we find the week icon. We can select it with our mouse pointer or use the keyboard shortcut of control plus alt plus the number three. Let's use the keyboard shortcut to select the week view. It looks very similar to the workweek except we now see Saturdays and Sundays are included. Our next view is the one we've seen before, the month view. I bet it's no surprise there's a keyboard shortcut for those of us who prefer this method. Control plus alt plus four will take us to the month view. The final view is schedule view. This view displays our calendar on a horizontal timeline. We use our scroll bar along the bottom of our window to move back and forth through our day. The keyboard shortcut to switch to schedule view is, you guessed it, control plus alt plus the number five.
Let's return to the month view and look at one last tip for using our calendar. When we need to quickly jump to a specific date, we have a handy shortcut which can really be a time saver. The keyboard shortcut of control plus G for go opens a go to date dialog box. In no time we can navigate to a desired date by entering it into the first edit field. Let's say we wish to jump to a special anniversary in the future. I'll type in 5/31/2023. I'll enter the date by entering 5/31/2023. The next control allows us to select the view we wish to use for this date. I'll leave it on month and select the okay button.
Outlook took us directly to our desired date and we see the day highlighted on our full calendar. We can now insert details such as special plans, gift ideas or any other pertinent information. I hope you'll check out another workshop in this series where we learn how.
Today we explored the calendar in Microsoft Outlook. I'm Vikki Vaughan and I thank you for joining me. This is one in a series of workshops called Microsoft Outlook.
-
Handouts
Calendar Basics Quick-Start Guide (PDF)
This quick-start guide helps you learn about the scheduling component of Outlook.
-
Websites
Outlook: Low Vision Series
- Video · 6 minutes
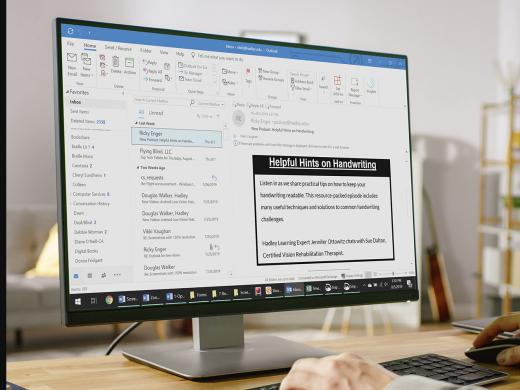
- Video · 6 minutes
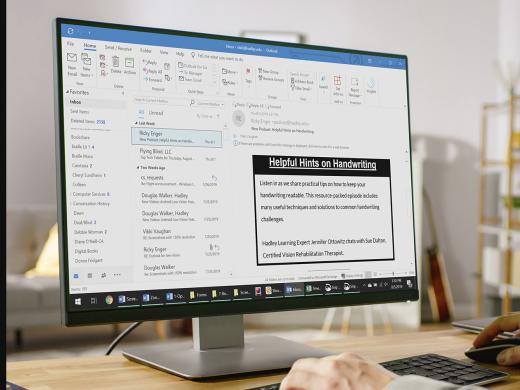
- Video · 5 minutes
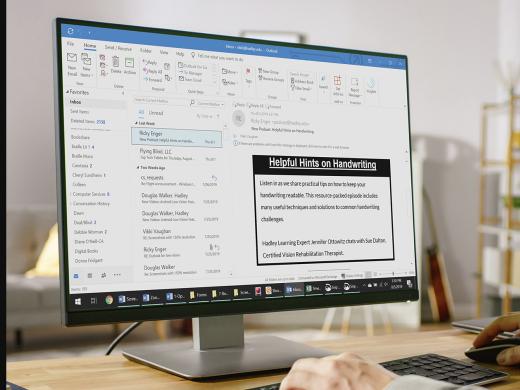
- Video · 4 minutes
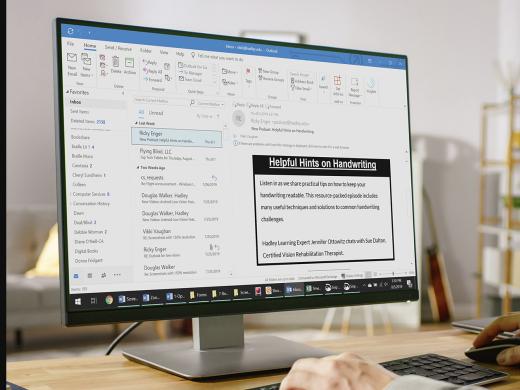
Explore
-
Life, Law, and Vision Loss with Judge Tatel
Audio · 24 minutes
-
I'm feeling overwhelmed
Resource guide
-
Feeling Judgment and Shame: Misunderstandings due to vision loss
Article · 5 minutes
-
Recreation Chat
Discussion
- Explore more
Join the Hadley Community
Hadley's resources are always available to you. Create a no-cost Hadley account to go further:
-
Pick up where you left off Everything you start is automatically saved across Hadley.
-
Personalized recommendations We'll suggest resources based on your interests.
-
Join live discussions Live and lively discussions on technology, cooking, and more, all geared toward the community of people living with vision loss.
-
Find peer support Connect with people who understand what you're going through.