
Google Docs Screen Reader: Creating an Account
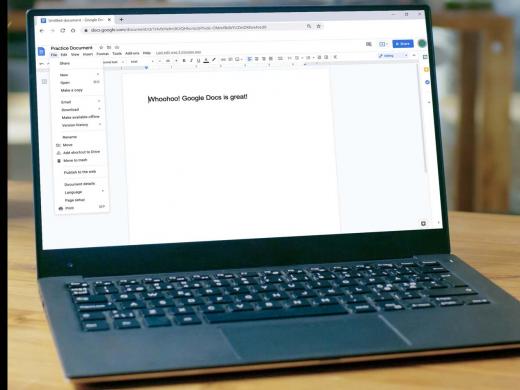
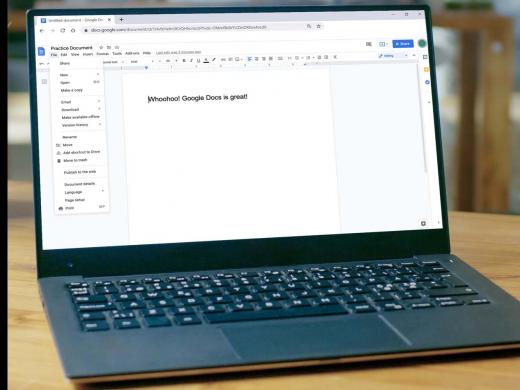
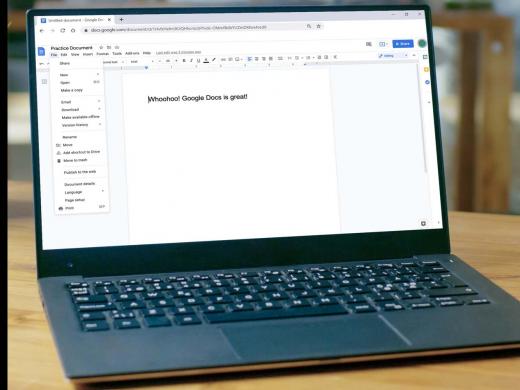
Ricky: Hello, my name is Ricky Enger and today we're going to walk through the process of creating a Google account. A Google account is a useful thing to have for a number of reasons. We'll get a new gmail.com email address that we can use if we want and we'll also be able to use several really cool and helpful programs from Google, such as Google Docs, which we'll be covering in the next few workshops.
We'll be using the Chrome browser and the NVDA screen reader, but things are going to be pretty similar no matter which browser and screen reader we're using. By the way, if you're still in the process of getting comfortable with doing things online with a screen reader, we have a great series called, Getting Online With a Screen Reader that covers a number of concepts that are going to be really helpful to know before we work with Google Docs. Be sure and check out that series first for those tips and tricks on getting around on the web easily and efficiently.
Okay, so before we can use Google Docs, we'll need to set up our Google account. But what is Google Docs anyway and why do we wanna use it? Well, as the name implies, Google Docs lets us work with documents. We can do all the usual things that we've come to expect from a program that handles documents, such as creating new ones, opening existing ones, formatting what we've written, saving our work and so on.
The interesting thing though is that all of this is happening in Google Drive, which is just a fancy way of saying that everything is happening online rather than on our computer's hard drive. There are some pretty cool things about this approach. Like being able to easily work with someone else on a document or the fact that our work is saved automatically. So, if you've ever had that devastating experience of working really hard on something only to have your computer crash before you remember to save, yeah, you can imagine how great this auto-save feature is.
Okay so now that we're excited about what we can do with Google Docs, let's get our Google account created so we can dive right in. So we've got our Chrome browser open and now let's move to the address bar with Alt+D as in Delta.
Screen Reader: Toolbar. Address and search bar and it has auto complete control plus L address and search bar.
Ricky: Okay. And we'll type accounts.
Screen Reader: Accounts.
Ricky: .google.com/signup.
Screen Reader: .com. Sign up.
Ricky: And press enter.
Screen Reader: Account. First name edit blank.
Ricky: All right. We're inside a form where we'll fill out our information, starting with our first name. We'll type that in and we'll tab.
Screen Reader: Ricky. Last name edit blank.
Ricky: We'll type that. And we'll tab.
Screen Reader: Enger. Username edit blank.
Ricky: Okay, I'm going to type hadleytest in here and when we tab Google is going to make sure the username we've chosen is available. So we'll tab.
Screen Reader: Hadleytest. Use my current email address instead button.
Ricky: All right. Now the info about whether this email address is okay or not is actually displayed just under that field where we entered our username. So let's press our up arrow a couple of times and see what we get.
Screen Reader: List with four items available. Button engerricky, button rickyenger729, button hadleytest371.
Ricky: And we'll up arrow again.
Screen Reader: Out of list. That username is taken. Try another.
Ricky: Well all right then. That answers that question. So, we have two choices here. We can either press our tab key to move through each of these alternate usernames and use our space bar to select one or we can just go back up and type in another username altogether. We'll go back up with our arrow key this time and try another username.
Screen Reader: @gmail.com. Username edit hadleytest.
Ricky: Okay, so quick reminder before we do this next keystroke. We’re going to be using the NVDA key quite a bit throughout the rest of this series. So our NVDA key is just going to be our Insert key, or the capslock key depending on how we have NVDA configured. Alright. Let's jump back into forms mode with NVDA+space bar.
Screen Reader: Username edit invalid. Entry hadleytest.
Ricky: And now we'll use Control + A, A for all, to select what's here.
Screen Reader: Hadleytest selected.
Ricky: And press delete to get rid of it.
Screen Reader: Blank. Unselected.
Ricky: Okay, cool. I'll just type funhadleydocs here. And let's go see if this one is available. We'll press tab.
Screen Reader: Funhadleydocs. List, engerricky button.
Ricky: And now let's press our up arrow.
Screen Reader: Out of list. You can use letters, numbers, and periods.
Ricky: And up arrow one more time.
Screen Reader: @gmail.com.
Ricky: Hey great. It's not telling us that the username is taken. So I think it's okay. Let's go back down then with our down arrow key.
Screen Reader: List with four items available. Button engerricky, button rickyenger729, button hadleytest371.
Ricky: And those are our suggestions from before. We don't need those now so let's keep going with our down arrow.
Screen Reader: Out of list button. Use my current email address instead.
Ricky: Oh. Hey, that's interesting. If we want a Google account but don't really want this new Gmail address, we can select this button and Google will ask us to enter our current email address that we'd like to use instead. For now, let's keep moving down with our down arrow key.
Screen Reader: Password edit protected.
Ricky: Okay. Let's go ahead and get back into forms mode so we can type that in. We'll use our NVDA + bar.
Screen Reader: Password edit protected blank.
Ricky: And now let's type our password, and press tab.
Screen Reader: Confirm edit. Protected blank.
Ricky: So we'll retype our password. And again, we'll tab.
Screen Reader: Show password checkbox not checked.
Ricky: And let's tab again.
Screen Reader: Next button.
Ricky: Yep, we're ready to go to next so we'll press our space bar there.
Screen Reader: Section, phone number, optional. Edit blank.
Ricky: Here we'll enter a phone number that Google can use to send us a six digit code. This verifies that there's a real person attached to this account. But what if we don't have a phone number that can receive a text? No worries. Google makes this verification step optional or Google can call our number instead of texting. If we don't enter anything at all here we won't be prompted to enter our verification code on the next screen. I'm fine with this verification step since it will make getting back into my account a little easier if I get locked out or if Google detects unusual activity. So, I'll enter a phone number here. And let's tab.
Screen Reader: Blank. Recovery email address optional. Edit blank.
Ricky: If we want, we can also give Google an alternate email address to contact us if we get locked out of our account. Okay. We'll tab.
Screen Reader: Month combo box collapsed.
Ricky: All right. These next few fields are for entering our birthday. Unfortunately, it's not so Google can throw us a nice party. It's just a verify how old we are since Google does have some services with age restrictions. So we can use our down arrow to select our month.
Screen Reader: January, February, March.
Ricky: Press tab.
Screen Reader: Day edit blank. One characters remaining.
Ricky: Okay. When we've filled that out we can tab again for our year.
Screen Reader: One. Year edit blank. Maximum of four characters entered.
Ricky: Let's tab again for our gender dropdown, which we can select using our down arrow key to find our choice.
Screen Reader: 1920. Gender combo box collapsed. Female.
Ricky: And we'll keep on tabbing.
Screen Reader: Why we ask for this information link. Next button.
Ricky: Okay, great. Let's press space here.
Screen Reader: Section, create your Google account document.
Ricky: And now we're on the next page, but Google didn't really tell us anything yet. We didn't land in an edit field so let's just jump to the top of our page with Control + Home.
Screen Reader: Heading level one. Verify your phone number.
Ricky: Okay. Let's explore here with our down arrow key.
Screen Reader: To make sure this number is yours, Google will send you a text message with a six digit verification. Standard rates apply.
Ricky: With our next down arrow press we'll hear our phone number that we entered on the previous screen. And then as we continue with our down arrow key, we'll have a buttons.
Screen Reader: Button back. Button send.
Ricky: So we'll focus on send and press our space bar. We'll do this even if we wanna receive a call instead of a text.
Screen Reader: Blank. Enter verification code edit blank.
Ricky: Okay. We'll enter the code we just received via text. Note that our code will begin with a G and then a dash, which we won't enter. We'll just type our digits.
Screen Reader: 310,368.
Ricky: And now we'll tab. We're going to find a back button.
Screen Reader: Back button.
Ricky: Then a verify button.
Screen Reader: Verify button.
Ricky: And if we wanna receive a phone call instead of a text, we'll find that just after our verify button. We're all ready to go here so we'll just have to verify. And we'll press space.
Screen Reader: Blank.
Ricky: Okay. We're on the next screen. So we'll just jump to the top of our page with Control + Home.
Screen Reader: Heading level one, get more from your number.
Ricky: This page will let us use our number across other Google services, such as video calls. We can read this page in its entirety with Alt + Down arrow, or we can simply move through our buttons with the letter B, as in button, to choose yes or skip.
Screen Reader: Learn more button. Learn more about the usage of your phone number button. Back button. Yes, I'm in button. Skip button.
Ricky: I'll select skip.
Screen Reader: Skip button, blank.
Ricky: And now if we jump to the top of our page with Control + Home...
Screen Reader: Heading level one. Privacy and terms.
Ricky: We're on our terms of service and privacy page, which we'll need to agree to in order to use our account. Again, we can read this page in its entirety with our NVDA plus down arrow shortcut. And we can skip to our agree button by using our B key.
Screen Reader: More options button. I agree button.
Ricky: We'll press space on that.
Screen Reader: Blank. Google account. Banner landmark.
Ricky: And there we go. We've created our Google account. And that means in our next workshops we can get to the exciting stuff like creating and sharing documents. Yay. I'm Ricky Enger and I'm glad you could spend a little time with me today, creating a Google account. See you next time.
-
Handouts
Creating an Account Quick-Start Guide (PDF)
This quick-start guide helps you to create a Google account so you can take advantage of all Google Docs has to offer.
-
Websites
Google Docs: Screen Reader Series
- Video · 9 minutes

- Video · 6 minutes
- Video · 6 minutes
- Video · 7 minutes
Explore
-
White Cane Safety Day
Audio · 15 minutes
-
A family member has vision loss
Resource guide
-
Vision Loss Help by Phone: 6 Numbers to Know
Article · 5 minutes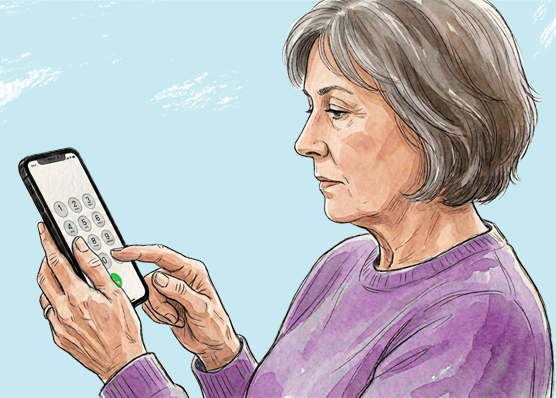
-
What's Cooking?
Discussion
- Explore more
Members also liked
- Video · 5 minutes

- Video · 5 minutes
- Video · 4 minutes
- Video · 8 minutes

Join the Hadley Community
Hadley's resources are always available to you. Create a no-cost Hadley account to go further:
-
Pick up where you left off Everything you start is automatically saved across Hadley.
-
Personalized recommendations We'll suggest resources based on your interests.
-
Join live discussions Live and lively discussions on technology, cooking, and more, all geared toward the community of people living with vision loss.
-
Find peer support Connect with people who understand what you're going through.