
Google Docs Screen Reader: Creating and Opening Documents
Ricky: Hello, my name is Ricky Enger and today we're going to get started with Google Docs by creating and opening documents. We're using the Chrome browser along with NVDA as our screen reader, but things are going to be pretty similar no matter which browser and screen reader we're using. So, we've got our shiny new Google account that we created in the first workshop, and it's finally time to do some cool stuff with it. We've got our Chrome browser open, so we'll use our Alt+D shortcut to go to the address bar.
Screen Reader: Toolbar, address and search bar, and it has auto complete Control+L address in search bar.
Ricky: And now, we'll type docs.google.com and press enter.
Screen Reader: Docs.google.com selected. Screen reader support enabled. Document busy blank. No text documents yet. Click + to create a new document.
Ricky: All right, then. Since our account is brand new, we don't have any files here yet. We'll change that soon enough. And when we do, they're going to be right here on this page. NVDA will automatically focus on that list of files and we can open one just by pressing Enter on it. But again, there's nothing here yet. So, let's fix that. We heard when we loaded the page that we can click a plus sign to create a new document. It sounds simple enough, but it would take us a few steps to do it. I'd just as soon take a shortcut though, and this is a really cool one. We'll jump back to our address bar with Alt+D.
Screen Reader: Toolbar, address and search bar, and it has auto complete Control+L selected.
Ricky: And this time, we'll type docs.
Screen Reader: Docs.
Ricky: .new
Screen Reader: New
Ricky: And press enter.
Screen Reader: Docs.new selected, Google docs document. No text documents yet. Untitled document Google docs blank. Screen reader support enabled on page one.
Ricky: Yay. We made it. We're inside a new document and, even better, we heard screen reader support enabled. That's definitely a good thing. If that didn't happen, no worries. Once again, we have a lovely little shortcut key, so let's press Ctrl + Alt + Z, as in zebra.
Screen Reader: Document content edit multi line blank. Screen reader support disabled.
Ricky: So yeah, this is a toggle. And now pressing that once again, will turn it back on.
Screen Reader: Blank. Screen reader support enabled.
Ricky: Okay, cool. That's enabled once again. There's one more quick thing we need to do, which is to enable braille support. According to Google, this is going to make things even better for us, even if we don't use braille at all. So, we can turn that on with Ctrl + Alt + H, as in Hadley.
Screen Reader: Document content, edit multi line blank. Braille support enabled.
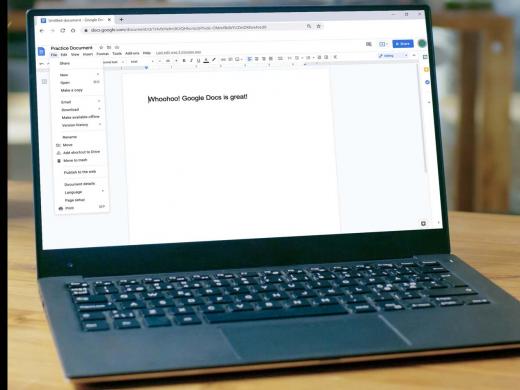
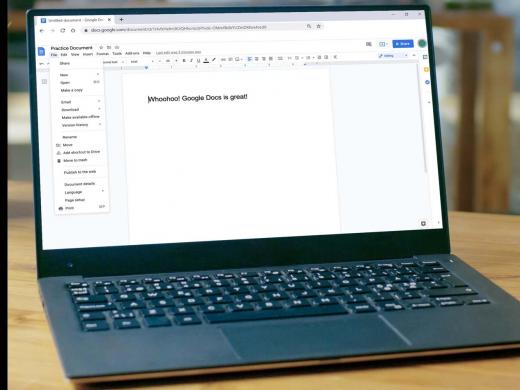
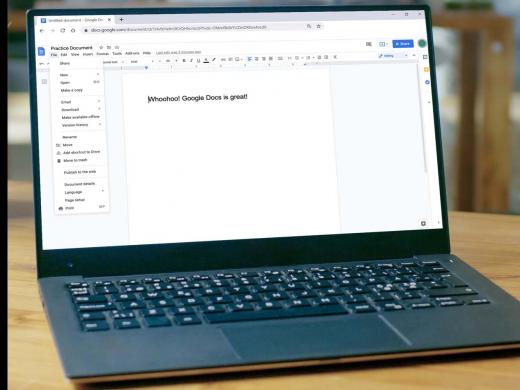
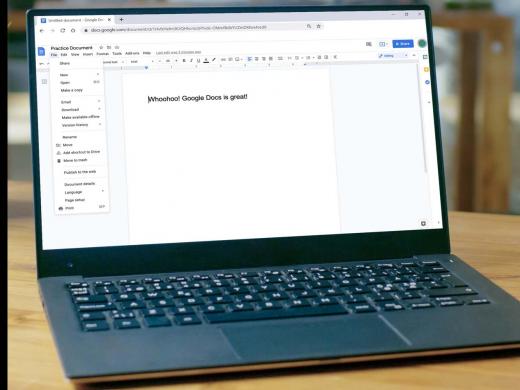
Ricky: Awesome. And once screen reader and braille support have been enabled, we don't need to enable them again for each new document. Alright. So here we are in this blank document. Let's just type something here since we've been waiting a long time to do this. We'll just type "Woohoo!".
Screen Reader: Woohoo!
Ricky: "Google docs is great".
Screen Reader: Google docs is great.
Ricky: Excellent. Now our document is no longer blank and what's more, this really important thing we just typed is already saved without our having to do anything. That's the beauty of Google docs, where everything is saved in the cloud in real time. It's kind of hard to believe this really is saved, so let's just go and check to make sure. We want to be back on our Google docs home page, where we'll see our list of recent documents. So we can always just go to our address bar again and type docs.google.com. But there's a little shortcut we can use instead. This shortcut will get us to an area called the menu bar with all sorts of important options. One of which is a link to our Google docs homepage. It's not the easiest shortcut, but it really is worth it. The keystroke is Ctrl + Alt + Shift + M, M for menu. I usually hold down Ctrl + Shift with my left hand, then Alt with my right hand, then press and release the M. There's no wrong way to do this though. So let's do our keystroke.
Screen Reader: Menu bar banner landmark.
Ricky: OK, great. Here we are. Let's Tab
Screen Reader: Docs home link.
Ricky: Nice. There's our document's home. Let's go there and see if we now have a file of some kind. So we'll press enter.
Screen Reader: Google docs, recent documents lists.
Ricky: Okay. Let's press our right arrow key and see if anything's here.
Screen Reader: Untitled document. Google docs opened, last opened by me 1:21 PM. More actions, popup button, one of one.
Ricky: And there it is, but it's untitled. We definitely want to fix that. And there are two ways to do this. Let's check out the first one, which we can do right from where we are. We're focused on the document we want to rename and now we'll press our applications key, or Shift + F10 if we don't have one of those.
Screen Reader: menu sub menu.
Ricky: Okay. And we'll use our down arrow key to explore this menu.
Screen Reader: Rename one of four.
Ricky: And there it is. Also in this menu is the option to remove the file. So, if we want to just get rid of it altogether, we could find and press Enter on that option instead. For now though, let's press Enter on rename here and give this a better title.
Screen Reader: Rename dialogue. Please enter a new name for the item and it's selected untitled document.
Ricky: And we'll just type "practice".
Screen Reader: Practice.
Ricky: doc
Screen Reader: doc
Ricky: And press Enter.
Screen Reader: Recent documents list. Press Ctrl + Z to undo.
Ricky: Alright. Let's press our right arrow to start moving through our list.
Screen Reader: Practice doc, Google docs opened last opened by me 1:21 PM. More actions. Pop up button. One of one.
Ricky: Yay. There it is. And to open it again, we'll just press Enter on it.
Screen Reader: Practice doc, Google docs, application, document, document content, edit multi line blank. Braille support enabled on page one. WooHoo! Google docs is great.
Ricky: Awesome. We're back in our document, right where we left off. Now, just like traditional word processors and other programs we've used before Google docs has a set of menus, which we can access with some familiar shortcuts. So let's try Alt + F for file.
Screen Reader: File sub menu, one of nine.
Ricky: Cool. And we'll press N for new.
Screen Reader: Document D one of six
Ricky: And that's what we want. So, instead of using our down arrow key to explore this whole menu, we'll just press Enter.
Screen Reader: Untitled Google Chrome, untitled document Google docs, document, document content, edit multi line blank. Braille support enabled. Braille support enabled on page one.
Ricky: Great. We've just created another new document. And before we go, let's just do one more thing. I mentioned that there were two ways to rename our documents. So let's go check out the second one. We'll use our lovely menu bar shortcut Ctrl + Shift + Alt + M
Screen Reader: Menu bar, banner landmark
Ricky: And now we'll Tab.
Screen Reader: Docs home link visited.
Ricky: Okay, so let's Tab one more time.
Screen Reader: Rename edit selected, untitled document.
Ricky: Okay. Let's give it a name. We'll just type "more"
Screen Reader: more
Ricky: practice
Screen Reader: practice
Ricky: And press Enter.
Screen Reader: Document, document content edit multi line blank.
Ricky: And there we go. Our document has now been renamed and we're back inside it ready to type. I'm Ricky Enger. And I'm glad you could spend a little time with me learning to create, open, and rename documents in Google docs. See you next time.
-
Handouts
Creating and Opening Documents Quick-Start Guide (PDF)
This quick-start guide helps you create, open, rename, and work on the docs you want.
Google Docs: Screen Reader Series
- Video · 6 minutes
- Video · 12 minutes
- Video · 6 minutes
- Video · 7 minutes
Explore
-
"I didn't have a choice"
Audio · 4 minutes
-
I was just diagnosed
Resource guide
-
5 Free Apps to Help After Vision Loss
Article · 5 minutes
-
Writers' Circle
Discussion
- Explore more
Members also liked
- Video · 5 minutes
- Video · 5 minutes

- Video · 8 minutes

- Video · 4 minutes
Join the Hadley Community
Hadley's resources are always available to you. Create a no-cost Hadley account to go further:
-
Pick up where you left off Everything you start is automatically saved across Hadley.
-
Personalized recommendations We'll suggest resources based on your interests.
-
Join live discussions Live and lively discussions on technology, cooking, and more, all geared toward the community of people living with vision loss.
-
Find peer support Connect with people who understand what you're going through.