
Outlook Low Vision: Dark Mode
Hi, I'm Vikki Vaughan and today we'll explore high contrast options in Microsoft Outlook. This workshop is intended for users for low vision. If you use a screen reading program, be sure to check out our screen reading version of this workshop.
You know, many of us struggle with the brightness of our screen when using Outlook. The glare from the white background often results in decreased acuity and visual fatigue. Thankfully, Microsoft has options that make viewing our email and calendar easy on the eyes.
Outlook's black theme and dark mode are designed for those of us who need high contrast settings. These settings provide the highest contrast view for all of our office applications, making them much easier to view for extended periods. This feature might be new to you, so let's start off by learning how to activate the black theme.
We'll begin from our inbox. Let's move to our tool bar at the top of our window and select File. Then we'll select Office Account in the left pane. Under Office Theme, we see a drop down menu. Let's select Black. Wow, that's quite a change, isn't it? Okay, let's go back to the top and select our back arrow to return to our inbox.
Now in earlier versions of Outlook, dark theme darkened parts of our screen, but the reading pane was still illuminated. The black theme also did not fully extend to our composition pane when writing a new email. With more recent versions of Outlook, dark mode allows us to extend the black theme to both the reading pane and the composition pane. We have the option to turn the lights back on for the message preview and the composition screens. This can be helpful for those times when an email might not be visible, or we simply need to make the message brighter.
Let's give this a try. While in the reading pane, we locate the switch background button. The button is represented as the sun. Simply clicking on the sun button with our mouse pointer will change the reading pane from black to white. The button also changes from the sun to a moon. To turn the lights back off, click the switch background button again which is currently represented as a moon. As I mentioned, we can also change the background back to white when composing an email message. We simply select the Switch Background Button here in our ribbon to switch the pane between light and dark mode.
Now some of us might prefer to always keep the lights on for the reading pane. Outlook gives us that option, too. Let's go through the steps to retain the white background in our reading pane. We'll begin from our inbox. First, let's select the File menu and move down to options. From here, we select the general tab and check the box entitled never change the message background color. We click the okay button to save our changes. When we select our next email message, the lights will remain on. If we decide we'd like to reverse this change, we simply uncheck the previously selected checkbox.
Today we explored Outlook's black theme and dark mode. I'm Vikki Vaughan, and I thank you for joining me. This is one in a series of workshops called Microsoft Outlook.
-
Handouts
Dark Mode Quick-Start Guide (PDF)
This quick-start guide helps you choose a darker color palette for your screen to make the foreground content stand out.
-
Websites
Outlook: Low Vision Series
- Video · 7 minutes
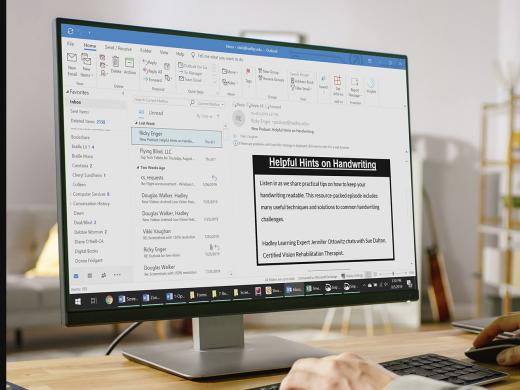
- Video · 6 minutes
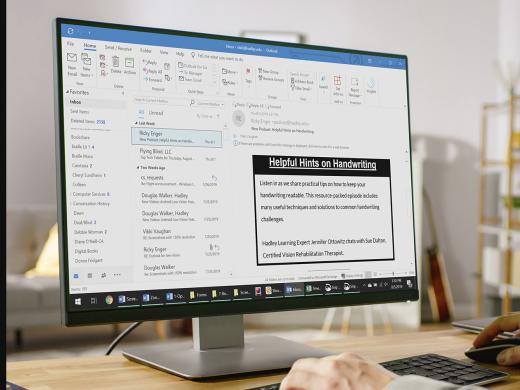
- Video · 5 minutes
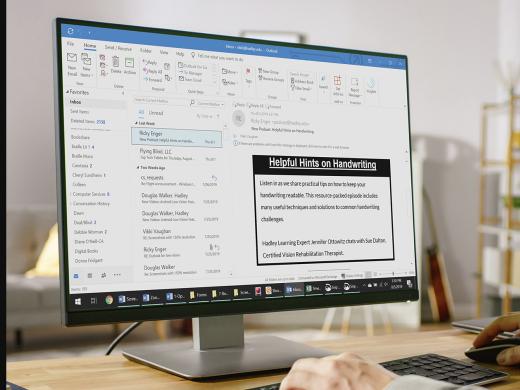
- Video · 4 minutes
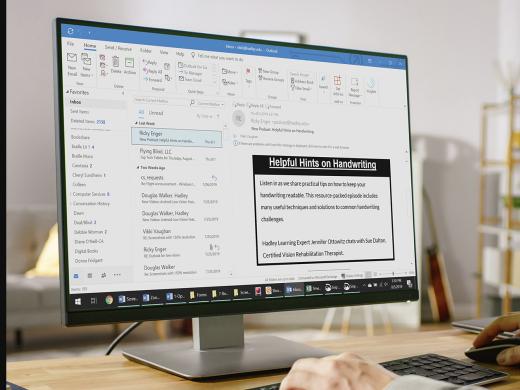
Explore
-
Best of 2025: Tips, Guests and Topics
Audio · 29 minutes
-
I'm having trouble reading
Resource guide
-
"Phantom Vision": Understanding Charles Bonnet Syndrome
Article · 5 minutes
-
Recreation Chat
Discussion
- Explore more
Join the Hadley Community
Hadley's resources are always available to you. Create a no-cost Hadley account to go further:
-
Pick up where you left off Everything you start is automatically saved across Hadley.
-
Personalized recommendations We'll suggest resources based on your interests.
-
Join live discussions Live and lively discussions on technology, cooking, and more, all geared toward the community of people living with vision loss.
-
Find peer support Connect with people who understand what you're going through.