
Windows Low Vision: Display Options
Hi, my name is Vikki Vaughan and today we'll talk about customizing the visual settings on our computer. We'll focus on display options in Windows Ease of Access settings. We'll look at changing the size of elements on our screen and customizing the brightness level to fit our needs.
For many of us, trying to locate something on our computer screen can be really challenging. The screen might be too bright or the items too cluttered or just too small to see. Thankfully, there are tools that can help us get the most out of our computer by customizing it to fit our individual needs. We can find these tools in Windows Ease of Access.
Today, we'll dive deep into the visual display. A major player when it comes to viewing our computer. This is where we find controls to change the size of elements and the brightness of our display. Let's start by opening Ease of Access with the keyboard shortcut of Windows and the letter U.
We do that by holding the Windows key and then we tap and release the letter U. My handy tip, think of the word "usable." Since the options we're talking about make our computer more usable, this will help us remember our shortcut.
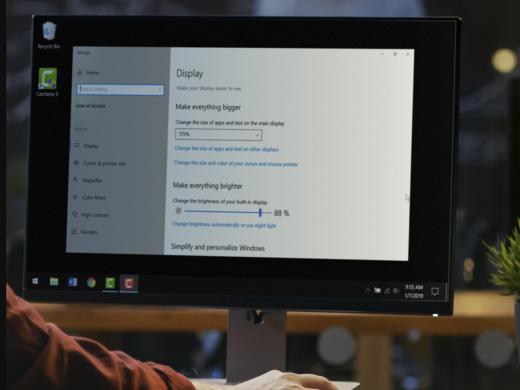
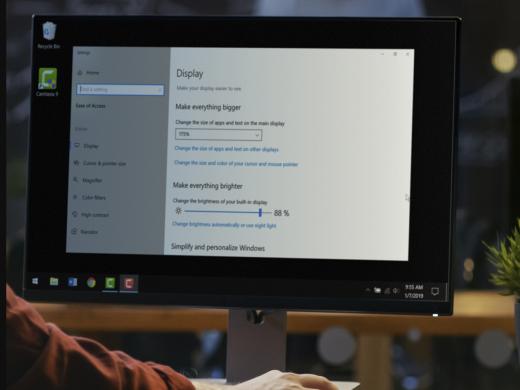
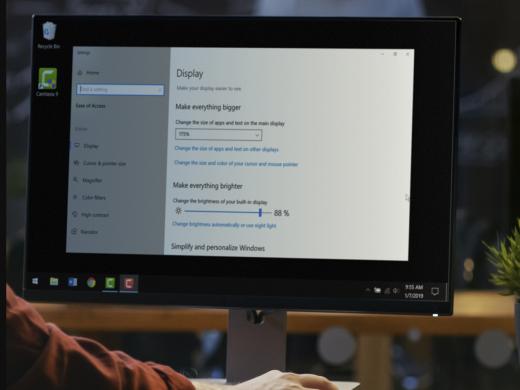
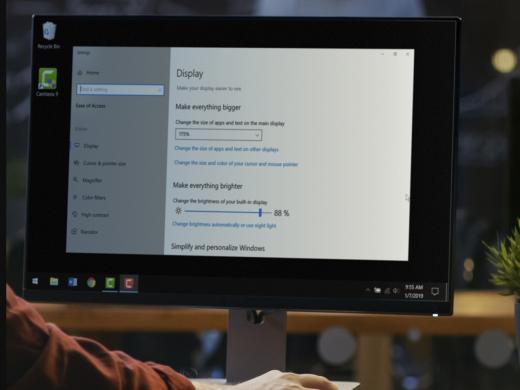
On the left side of our screen, under settings, we find a list of customizing tools. The first category is specific to vision and at the top of the list we find "Display." When we select display on the left side, the right side of our screen shows multiple tools for our computer's visual display. Now that we know where to find the display controls, let's have a deeper look.
The first option is a new feature that allows us to select the size of text on our screen by moving the slider bar and then selecting the apply button, we can customize the text in our start menu, icon labels, our menu bar, and webpages.
Windows provides a preview window to display the text size so we can choose the size that works best for us. Let's give it a try. I'll use my mouse pointer to click and drag the bar to the right. In our preview window we see the text size in large as we move farther to the right. When I find the size that works for me, I select the apply button. Our screen goes to a solid color for a few seconds. Then we see our enlarged text in a variety of places. Our start menu, on our desktop icons, and on webpages. Pretty cool, huh?
Our next control is a dropdown box that lets us change the size of apps and text on the main display. Enlarging the main display can be a handy tool for some users. Let's look at some other options. I'll select 175% and then go back to 150%.
The next link let's us change the display when we have more than one display. Below this we see a link to change the size and color of our cursor and mouse pointer. Now, we'll skip that control for today but not to worry, we cover it in-depth in our cursor and pointer size workshop in this series.
The next setting lets us change the brightness of our visual display. A recent survey of computer users with low vision indicates that over 60% have light or glare sensitivity. As we can see, this control is also a slider bar. We simply use our pointer to move the slider back and forth. We can immediately see the results with a darker screen by moving a slider to the left and a brighter screen when we move it to the right. We can also tab to the slider bar and use our arrow keys to move to the left or right.
Our next control is a link that lets us automatically control brightness or use a nightlight. Let's check it out. When selected, it opens a new window with the familiar brightness slider bar that we saw earlier.
Below that we find a toggle control to turn on and off the nightlight. Now you might ask, what is the nightlight on my computer? Studies show the blue light from bright screens such as laptops or mobile devices, make it harder for people to fall asleep. When we adjust the nightlight setting, our computer displays warmer colors such as shades of orange and red instead of the traditional blue light. The theory is that colors at the warmer end of the color spectrum are less likely to suppress hormones that help us sleep. We turn on and off the nightlight by selecting the toggle control with our mouse or pressing the space bar.
Beneath the toggle, we find a link to the nightlight settings. In today's workshop, we saw that we can change the size of elements and the brightness of our display. We also explored nightlight settings in our display menu. I'm Vikki Vaughan and I thank you for joining me today. As we looked at display options in Windows.
-
Handouts
Display Options Quick-Start Guide (PDF)
This quick-start guide helps you use Ease of Access, Microsoft Windows' low vision options, to address glare and clutter.
Customizing Windows for Low Vision Series
- Video · 4 minutes
- Video · 5 minutes
- Video · 3 minutes
- Video · 4 minutes
Explore
-
Choosing and Using a Magnifier
Audio · 21 minutes
-
I'm having trouble reading
Resource guide
-
Dialing the Phone Made Easier
Article · 3 minutes
-
What's Cooking?
Discussion
- Explore more
Members also liked
- Video · 3 minutes
- Video · 9 minutes
Join the Hadley Community
Hadley's resources are always available to you. Create a no-cost Hadley account to go further:
-
Pick up where you left off Everything you start is automatically saved across Hadley.
-
Personalized recommendations We'll suggest resources based on your interests.
-
Join live discussions Live and lively discussions on technology, cooking, and more, all geared toward the community of people living with vision loss.
-
Find peer support Connect with people who understand what you're going through.