
Outlook Screen Reader: Create Appointments
Ricky: Hello, my name is Ricky Enger, and today we'll learn to add a new appointment to our calendar in Microsoft Outlook. We're using NVDA as our screen reader, but the concepts we learned here will be pretty similar no matter which screen reader we're using. In our workshop where we get an introduction to the Outlook calendar, we learned about how to move around in our calendar, and how to get to a specific date. Now, once we're on the date we want, how do we add an appointment? We've got Outlook open, so let's go to the calendar with our control plus two keystroke.
Screen Reader: 12:30 PM to 1:00 PM.
Ricky: Now let's go ahead and move to a specific date, so we can add an appointment. We're using Outlook, so why not celebrate it? The 25th anniversary of the release of Outlook is on January 16th, 2022. Now there is a date we can use during trivia night. Okay, so let's go to that date with our control plus G keystroke, G for Go.
Screen Reader: Go to date dialog date, edit Alt plus D, selected Friday, one slash 17 slash 2020.
Ricky: And now we'll type in zero one for January.
Screen Reader: Zero one.
Ricky: A slash, then 16.
Screen Reader: 16.
Ricky: Another slash, and now are a year, 2022. Now we'll press enter.
Screen Reader: Calendar [email protected], Outlook. Sunday, January 16 2022, 12:30 PM to 1:00 PM.
Ricky: And here we are. When we learned about email messages in this series, we used Ctrl plus N for new message. When we're in calendar view, we can use that same keystroke, control plus N for new, only this time, it's a new appointment since we're in the calendar instead of the inbox. When we do that, a dialogue pops up where we can enter information about this appointment we're creating. In some ways, it's similar to the new email message dialog box.
Screen Reader: Untitled appointment, dialog, title edit Alt plus L, blank.
Ricky: We start off with the title of our appointment. Let's say celebrate.
Screen Reader: Celebrate.
Ricky: Outlook.
Screen Reader: Outlook.
Ricky: We tab.
Screen Reader: Start date edit, selected Sun one slash 16 slash 2022.
Ricky: And find our start date. And hey, it already has our date in there. Basically, Outlook assumes that the day we're focused on in the calendar is the day we want to schedule the appointment. If we press tab again.
Screen Reader: Date picker button.
Ricky: We get a date picker button, which lets us move around to calendar grid to find a different date. But we don't need to do that this time, so we'll press tab again.
Screen Reader: Start Time edit, selected 12:30 PM.
Ricky: Next, we've got the start time. By default, it will the 30 minute time segment that's closest to the time it is right now. We can move through this column of times with our up and down arrow keys. As we move upward, we're moving earlier in the day.
Screen Reader: 12:00 pm.
Ricky: And moving downward puts us later in the day.
Screen Reader: 12:30 PM.
Ricky: We'll tab again,
Screen Reader: End date edit, selected Sun one slash 16 slash 2022.
Ricky: And we have the end date. In case this is an event lasting more than one day, tab again.
Screen Reader: Date picker button, date picker.
Ricky: And we've got another date picker button, which will just skip past. Next, we've got the end time field for our appointment. It's set by default 30 minutes later than our start time.
Screen Reader: End time edit, selected 1:00 PM.
Ricky: We can leave this as it is, or we can increase our appointment time by moving down with our arrow key.
Screen Reader: 1:30 PM.
Ricky: Or, let's move forward one more time in our dialogue.
Screen Reader: All day checkbox not checked, Alt plus Y.
Ricky: Well of course we want to celebrate Outlook all day, so let's just check this box by pressing our spacebar.
Screen Reader: Checked.
Ricky: Now, as we continue to move forward with our Tab key, we'll find lots of things we can do to customize our appointment. Let's keep moving forward until we find a field called.
Screen Reader: Timezones checkbox not checked, Alt plus C. Make recurring button Alt plus A. Location button, location edit blank.
Ricky: This field, which is both a combo box and an edit box, lets us do two different things. We can type in here, since it's an edit box, and we can also use our down arrow key to move through here and find a location we've used previously, so we don't have to type it in again. Let's just go ahead and type the word everywhere here in this field.
Screen Reader: Everywhere.
Ricky: We can type just about anything in this field, like an office address, a particular room in a building, or whatever we need to remind us where our appointment is.
Screen Reader: Message edit multi line, blank.
Ricky: Our last field when we tab again, is called message edit multi line. When weird name for a field, but this is where we enter notes, or important information about our appointment. So here, we'll just write.
Screen Reader: Outlook is 25, yay.
Ricky: Of course, we'll have better notes in here for our really important appointments. For example, when we enter our next doctor's appointment, we can write questions in here that we might otherwise forget. So now, all our information is entered, and we need to save our work. We'll press ALT plus S to save. If that keystroke sounds familiar, it's because it's the same keystroke we use in our email message to send it. Anyway, when we press this keystroke in calendar view, our appointment is saved, and we're right back in the calendar view, focused on this future date we've selected.
Screen Reader: Calendar [email protected] Outlook, has appointment 12:30 PM to 1:00 PM.
Ricky: So we've moved to a date in the future and created an appointment, but what happens when we want to create one for today? Well, the process is exactly the same, actually, we just need to make sure that we're focused on today's date. And that's not always the case. If we've been playing around in the future a little bit, how do we get back to today in the calendar? There's one way that we've already learned, which is to just press Ctrl plus G, and type in the date we want to go to. That sounds like a lot of work, though, what else could we do? We can refresh our calendar view. So we're just going to use our keystroke to switch back to the inbox for a moment. Control plus one.
Screen Reader: Table view table group by expanded date yesterday grouping expanded row one column one through 12.
Ricky: And then return to the calendar view with Ctrl plus two.
Screen Reader: Friday, January 17th 2020, 1:00 PM to 1:30 PM.
Ricky: Now we're focused on today, and we can start making appointments in the present, instead of the future. Isn't this much easier than trying to keep all these dates and times in our head? I'm Ricky Enger, and I'm glad you could spend a little time with me today learning how to create an appointment in Microsoft Outlook.
-
Handouts
Creating Appointments Quick-Start Guide (PDF)
This quick-start guide helps you create appointments on your calendar.
This handout lists keyboard shortcuts so you have an alternative way to do something that you'd typically do with a mouse.
Outlook: Screen Reader Series
- Video · 6 minutes
- Video · 10 minutes
- Video · 7 minutes
- Video · 7 minutes
Explore
-
"I think I can"
Audio · 5 minutes
-
A family member has vision loss
Resource guide
-
Shop Smarter with AI: Real Tips for People with Vision Loss
Article · 5 minutes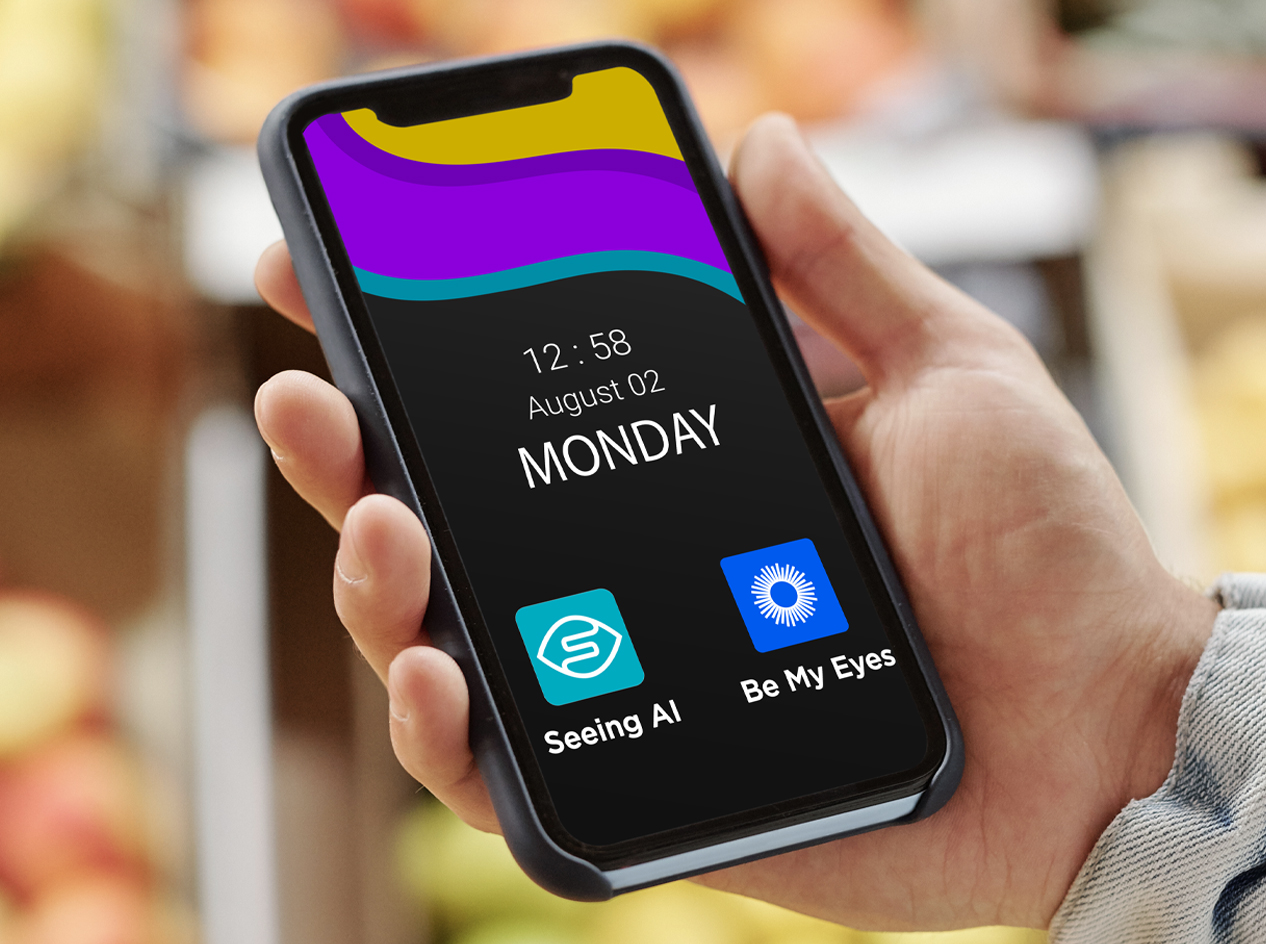
-
What's Cooking?
Discussion
- Explore more
Members also liked
- Video · 6 minutes
- Video · 5 minutes
- Video · 4 minutes
- Video · 6 minutes
Join the Hadley Community
Hadley's resources are always available to you. Create a no-cost Hadley account to go further:
-
Pick up where you left off Everything you start is automatically saved across Hadley.
-
Personalized recommendations We'll suggest resources based on your interests.
-
Join live discussions Live and lively discussions on technology, cooking, and more, all geared toward the community of people living with vision loss.
-
Find peer support Connect with people who understand what you're going through.