
Outlook Screen Reader: Email Signature
Ricky: Hello, my name is Ricky Enger, and today we'll learn how to create a signature for our emails in Microsoft Outlook. We're using NVDA as our screen reader, but the concepts we learn will be pretty similar no matter which screen reader we're using. You know, sometimes we get emails from people and at the bottom, there's this really cool quote? And then there's a phone number, a fax number, and a website, and all of it is like six lines of text. How do people have the energy to type all that every single time?
Well, truth is, they have a little help from Outlook. If we want to include something at the bottom of each of the messages that we send, whether it's just a closing phrase followed by our name, or something more complex, all we need to do is create a signature. So, how do we do that? First, we need to get to our Outlook Options. We'll do that by pressing Alt plus F for File, and then we'll press T, as in tango.
Screen Reader: Outlook Options dialogue, general options for working with Outlook.
Ricky: Yay, this sounds promising. Now, we're located in a dialogue that has a list of categories for things that we can customize. It's a pretty big list actually, and we can move through it with our Down Arrow key. We're focused now on the General category, so let's press out Down Arrow.
Screen Reader: Mail two of 14.
Ricky: Cool, Mail is where we want to be. And we also here that there are a total of 14 of these categories, so yeah, there's a lot of exploring we can do in here. For now, since we're on the Mail category, we'll press our Tab key. That's how we'll move through each of the items in the category that we choose.
Screen Reader: Compose messages grouping, Editor Options, button Alt plus E.
Ricky: So, there's the first of many items in this category we can customize. We can tab through this whole dialogue to see what's available, but since we really want to get to that Signature area right now, we'll use a shortcut key. We'll press Alt plus N, as in November.
Screen Reader: Signatures, button Alt plus N.
Ricky: Well, this is interesting. In previous workshops, you might have noticed that when we pressed out shortcut key, the function activated right away, but not this time. We're focused on the button, but nothing else is happening, why not? Turns out there are so many items in this dialogue that there just aren't enough shortcut keys to go around. Outlook is using Alt plus N, or our Signature, as well as two other items in this dialogue. Each time we press our Alt plus N shortcut, we'll move to the next item in the dialogue using that button. So, we're focused on our Signatures button right now, and we'll just press our Spacebar to activate it.
Screen Reader: Signatures and Stationary dialogue, Choose default signature, Edit signature, Okay button.
Ricky: Sounds like we're in the right place now, and we're focused on our Okay button. If we press Enter here, this dialogue will just go away. We don't want to do that though, so let's press Alt plus N again. That shortcut sure is getting a lot of use today. This time, we're using it to create a new signature, since we don't have one yet. So, N in this case is for New.
Screen Reader: New Signature dialogue, type a name for the signature, edit Alt plus T.
Ricky: Now we're in an edit bow, where we can name out signature. This is handy because we can actually create more than one. Maybe we want one for our business-related emails, and one for personal email. We'll just call this one Standard, so we'll type standard.
Screen Reader: Standard.
Ricky: And press Enter.
Screen Reader: Signatures and Stationary dialogue, Choose default signature, Edit signature, New button Alt plus N.
Ricky: Now that we've given out signature a name, we need to actually give it some text. There's just one little thing we should be aware of, this signature dialogue is ginormous. We can change out font, we can insert a hyperlink, we can include a picture, and that's just scratching the surface. Of course we can use Tab and Shift plus Tab to move through all these things, and that's always going to work, but we can also use a shortcut key to jump us a little closer to where we need to be, so we'll press Alt plus T, as in tango.
Screen Reader: Font combo box, Calibri Body. Changes the font of the selection.
Ricky: And now, we'll press Shift plus Tab because our Signature area just happens to be the option right before changing font.
Screen Reader: Document, page one, blank.
Ricky: And at last, here we are in our Edit box, where we can type our signature. We can type and edit here just like we do with an email message, so we'll just type a quick signature here.
Screen Reader: Warm regards, Ricky Enger.
Ricky: Now, we just press out Tab key to find our Okay button.
Screen Reader: Okay button.
Ricky: Press Enter.
Screen Reader: Inbox [email protected] Outlook.
Ricky: And that's it, we've created a signature that will show at the bottom of our email message whenever we send an email. We'll press out Escape key to return to our inbox.
Screen Reader: Inbox [email protected] Outlook.
Ricky: And now we just have to compose an email, and when we send it, we'll share our signature with the world. I'm Ricky Enger, and I'm glad you could spend a little time with me today, learning how to create a signature in Microsoft Outlook.
-
Handouts
Email: Signature Quick-Start Guide (PDF)
This quick-start guide helps you to create a customized signature to go at the end of your emails.
This handout lists keyboard shortcuts so you have an alternative way to do something that you'd typically do with a mouse.
Outlook: Screen Reader Series
- Video · 5 minutes

- Video · 10 minutes
- Video · 7 minutes
- Video · 7 minutes
Explore
-
"I'm not alone"
Audio · 4 minutes
-
A family member has vision loss
Resource guide
-
Is It Expired? 5 Ways to Know with Vision Loss
Article · 4 minutes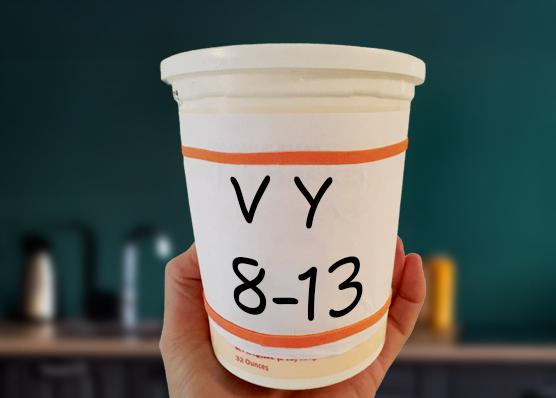
-
Embracing Braille
Discussion
- Explore more
Members also liked
- Video · 6 minutes
- Video · 5 minutes
- Video · 4 minutes
- Video · 6 minutes
Join the Hadley Community
Hadley's resources are always available to you. Create a no-cost Hadley account to go further:
-
Pick up where you left off Everything you start is automatically saved across Hadley.
-
Personalized recommendations We'll suggest resources based on your interests.
-
Join live discussions Live and lively discussions on technology, cooking, and more, all geared toward the community of people living with vision loss.
-
Find peer support Connect with people who understand what you're going through.